
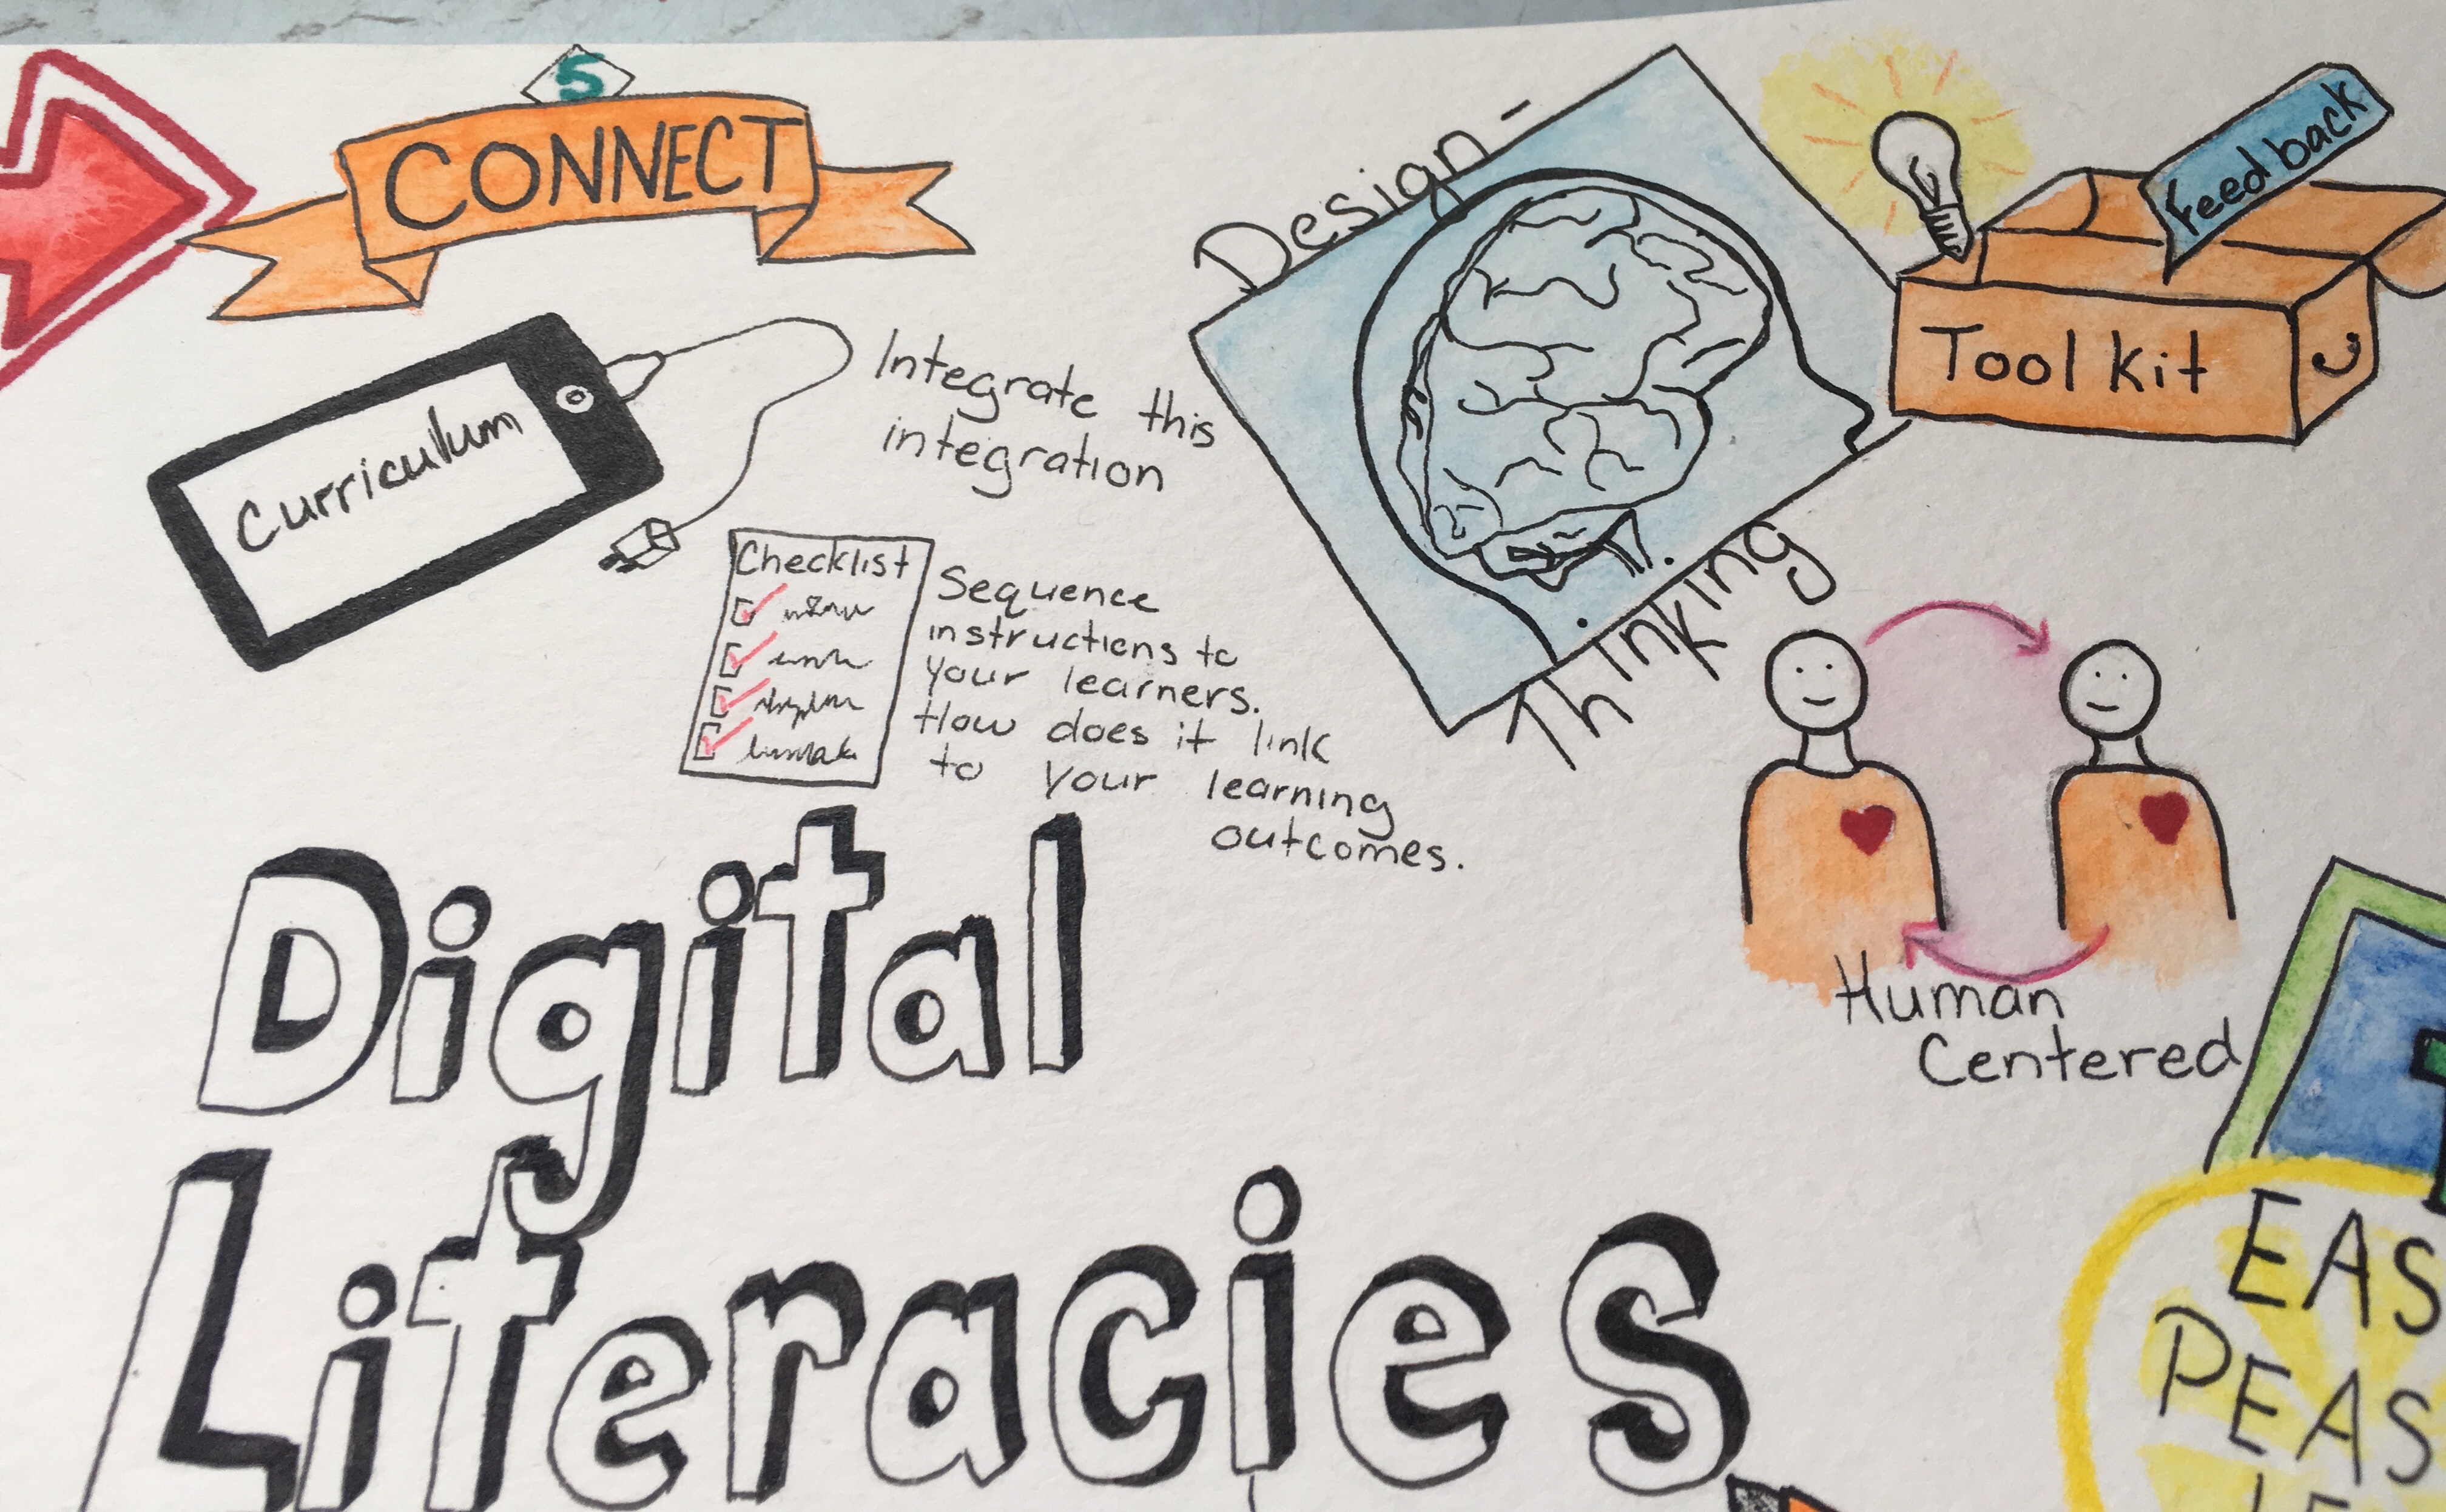
I decided to take a step back from technology for this artifact and focus on something I would enjoy creating which is a piece of art. I choose to create a Sketchnote (hence the title) so I could represent the key points through drawings and doodles. I thoroughly enjoyed this, although sketches are usually quick and I choose to create my artifact using watercolour and pens, which was very tedious to get to the level of satisfactory, I wanted. I also chose this medium because it didn’t require my to stare at a screen for countless hours, which I found is all that we have been doing throughout our University career. Using this style of artifact gave me full control of the creativity and design of my outcome, down to the texture of the paper, and the colour of the people’s clothing. (I choose to give all characters orange shirts as orange represents enthusiasm, creativity, determination, encouragement, and stimulation.) A small detail like this can have a larger affect on the viewer if they understand the significance, and I believe these characteristics are all important aspects a learner should have/do.
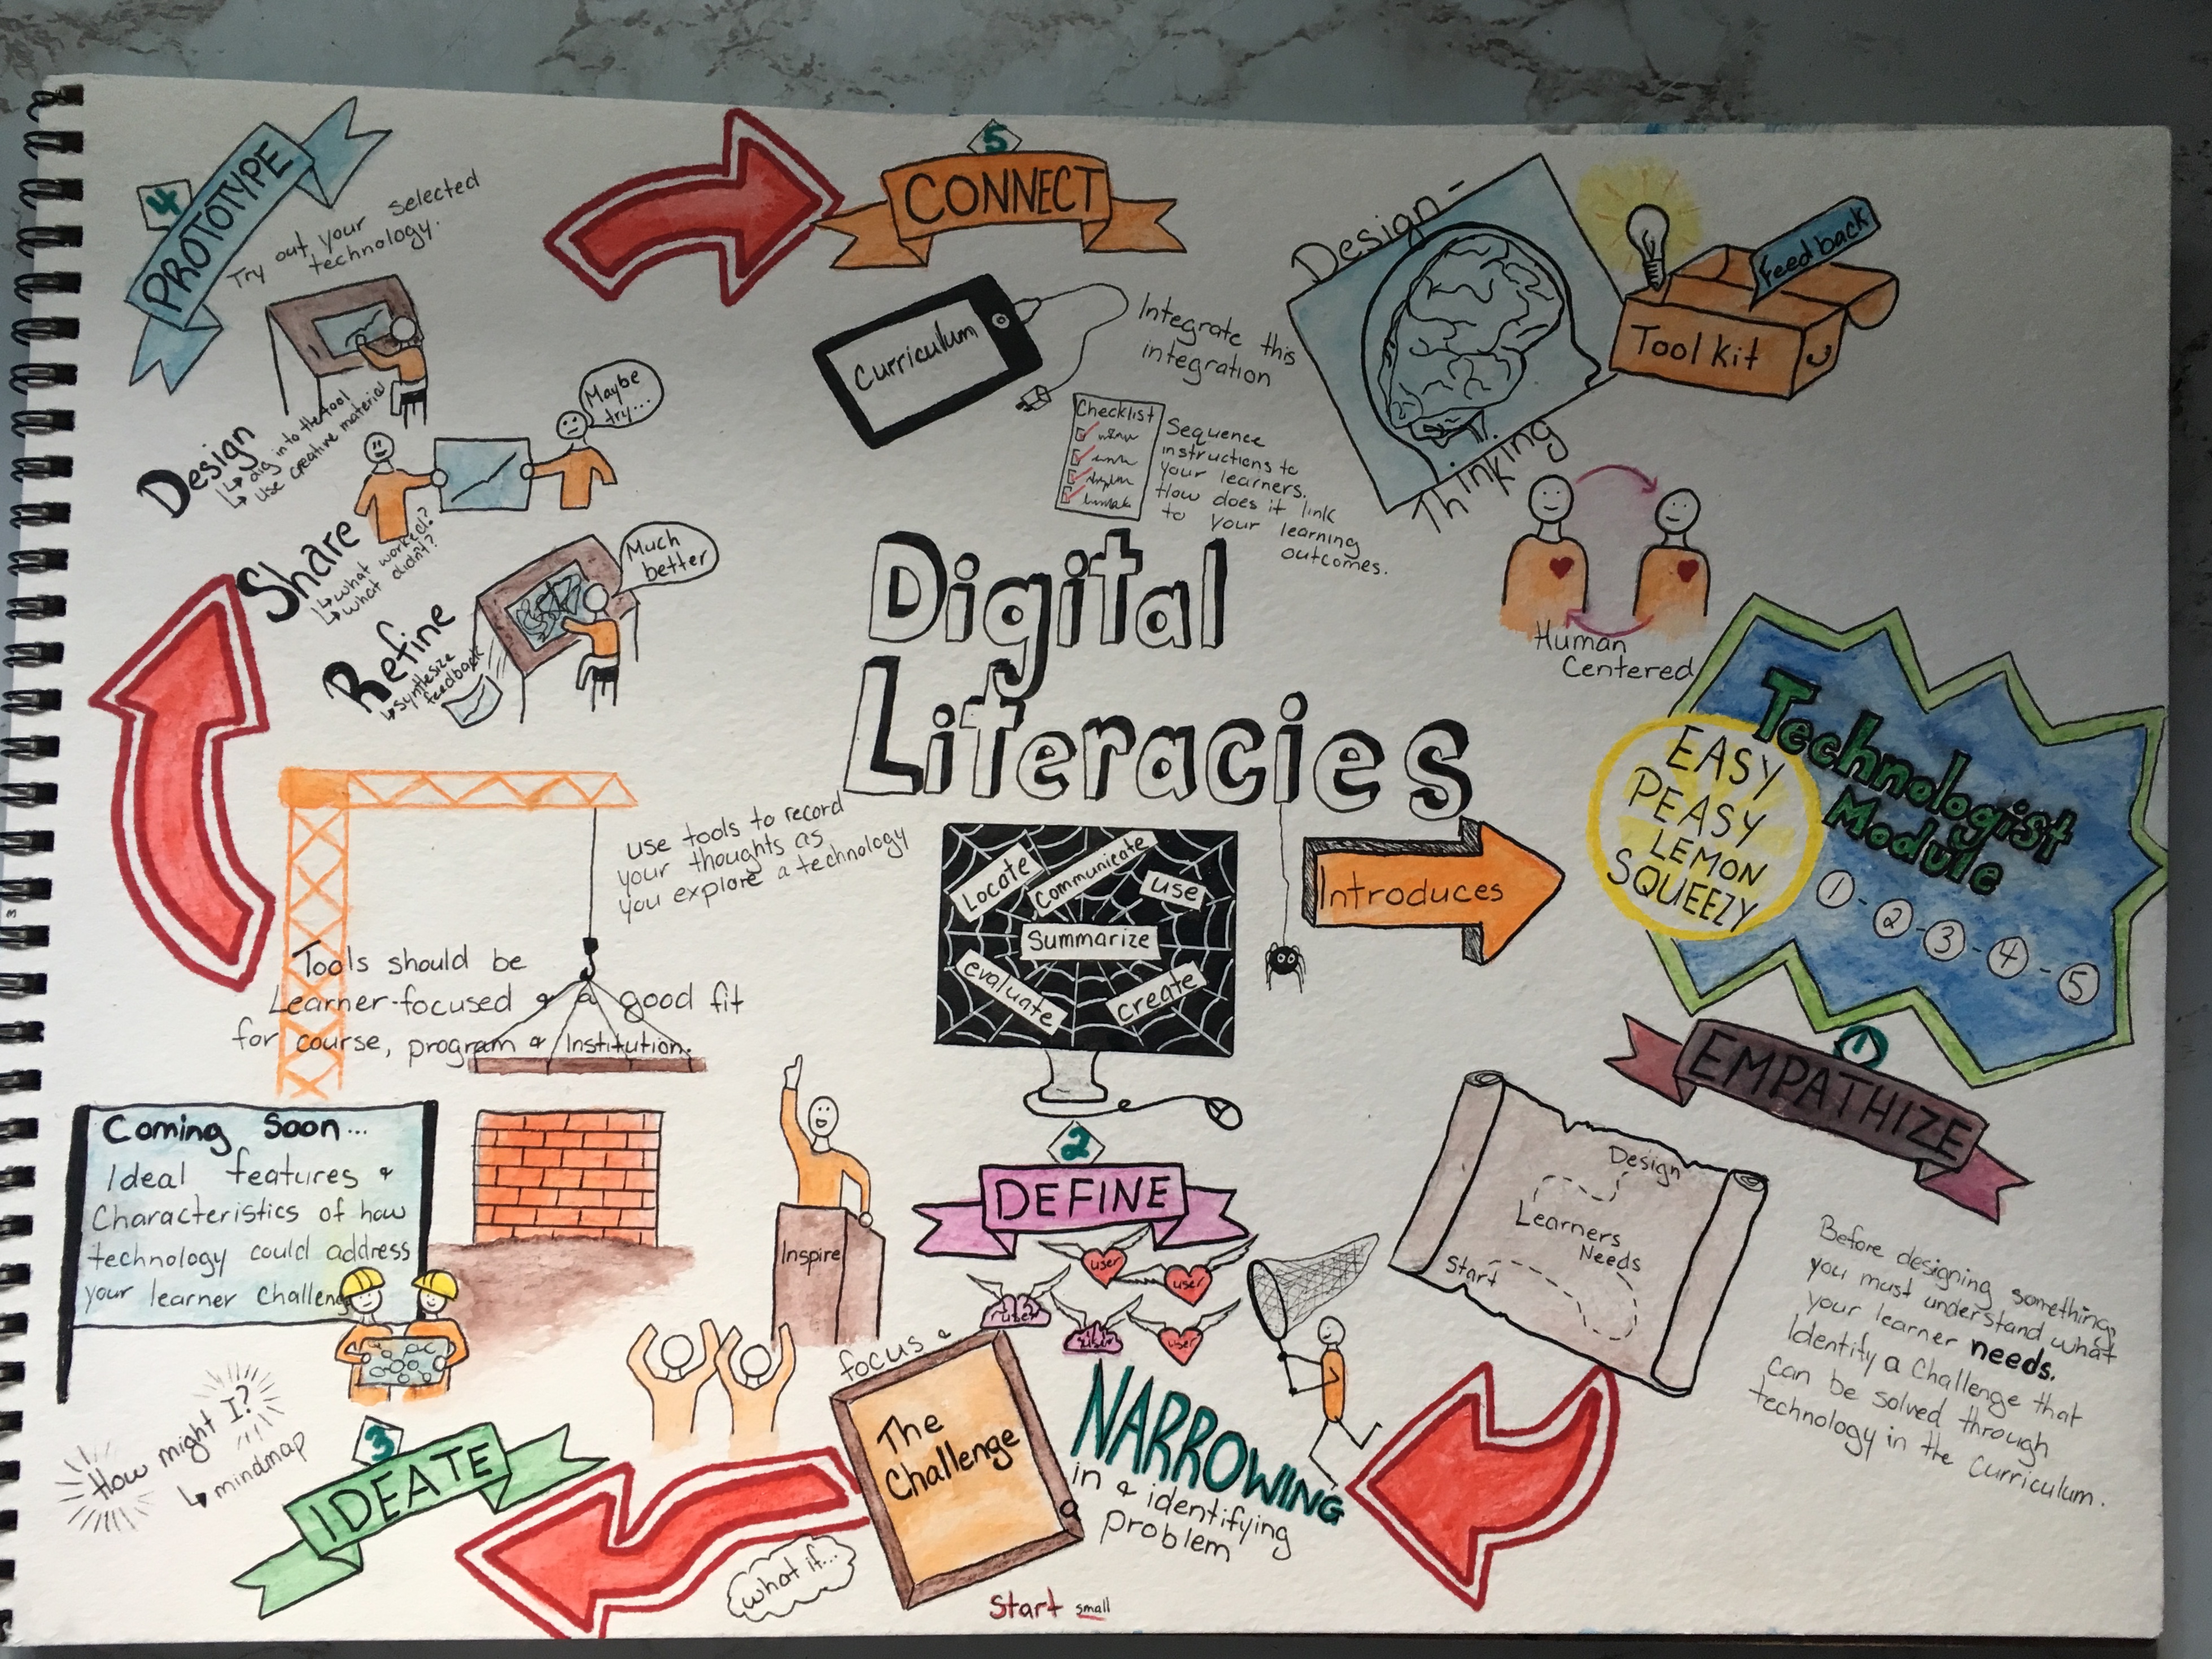
Some downsides to this medium is that I was working with ink, something that cannot be easily undone or erased if a mistake if made (unlike when creating things using technology.) This came into effect when I realized I made the main focus on Digital Literacies and not Technologist Module. I needed to then create someway to shift the focus from one heading to another which I did with arrows and brighter colours. Another downside is that with technology you can usually edit and rearrange as you go, with drawing I had to create 4 rough copies, before I was satisfied enough to begin a good copy (and still made mistakes along the way.)

Now let’s dive into the article content!
The technologist module Design Thinking Process is intended to spark new ideas, and use feedback to improve said ideas. This specific module follows the course of empathize, define, ideate, prototype and connect.
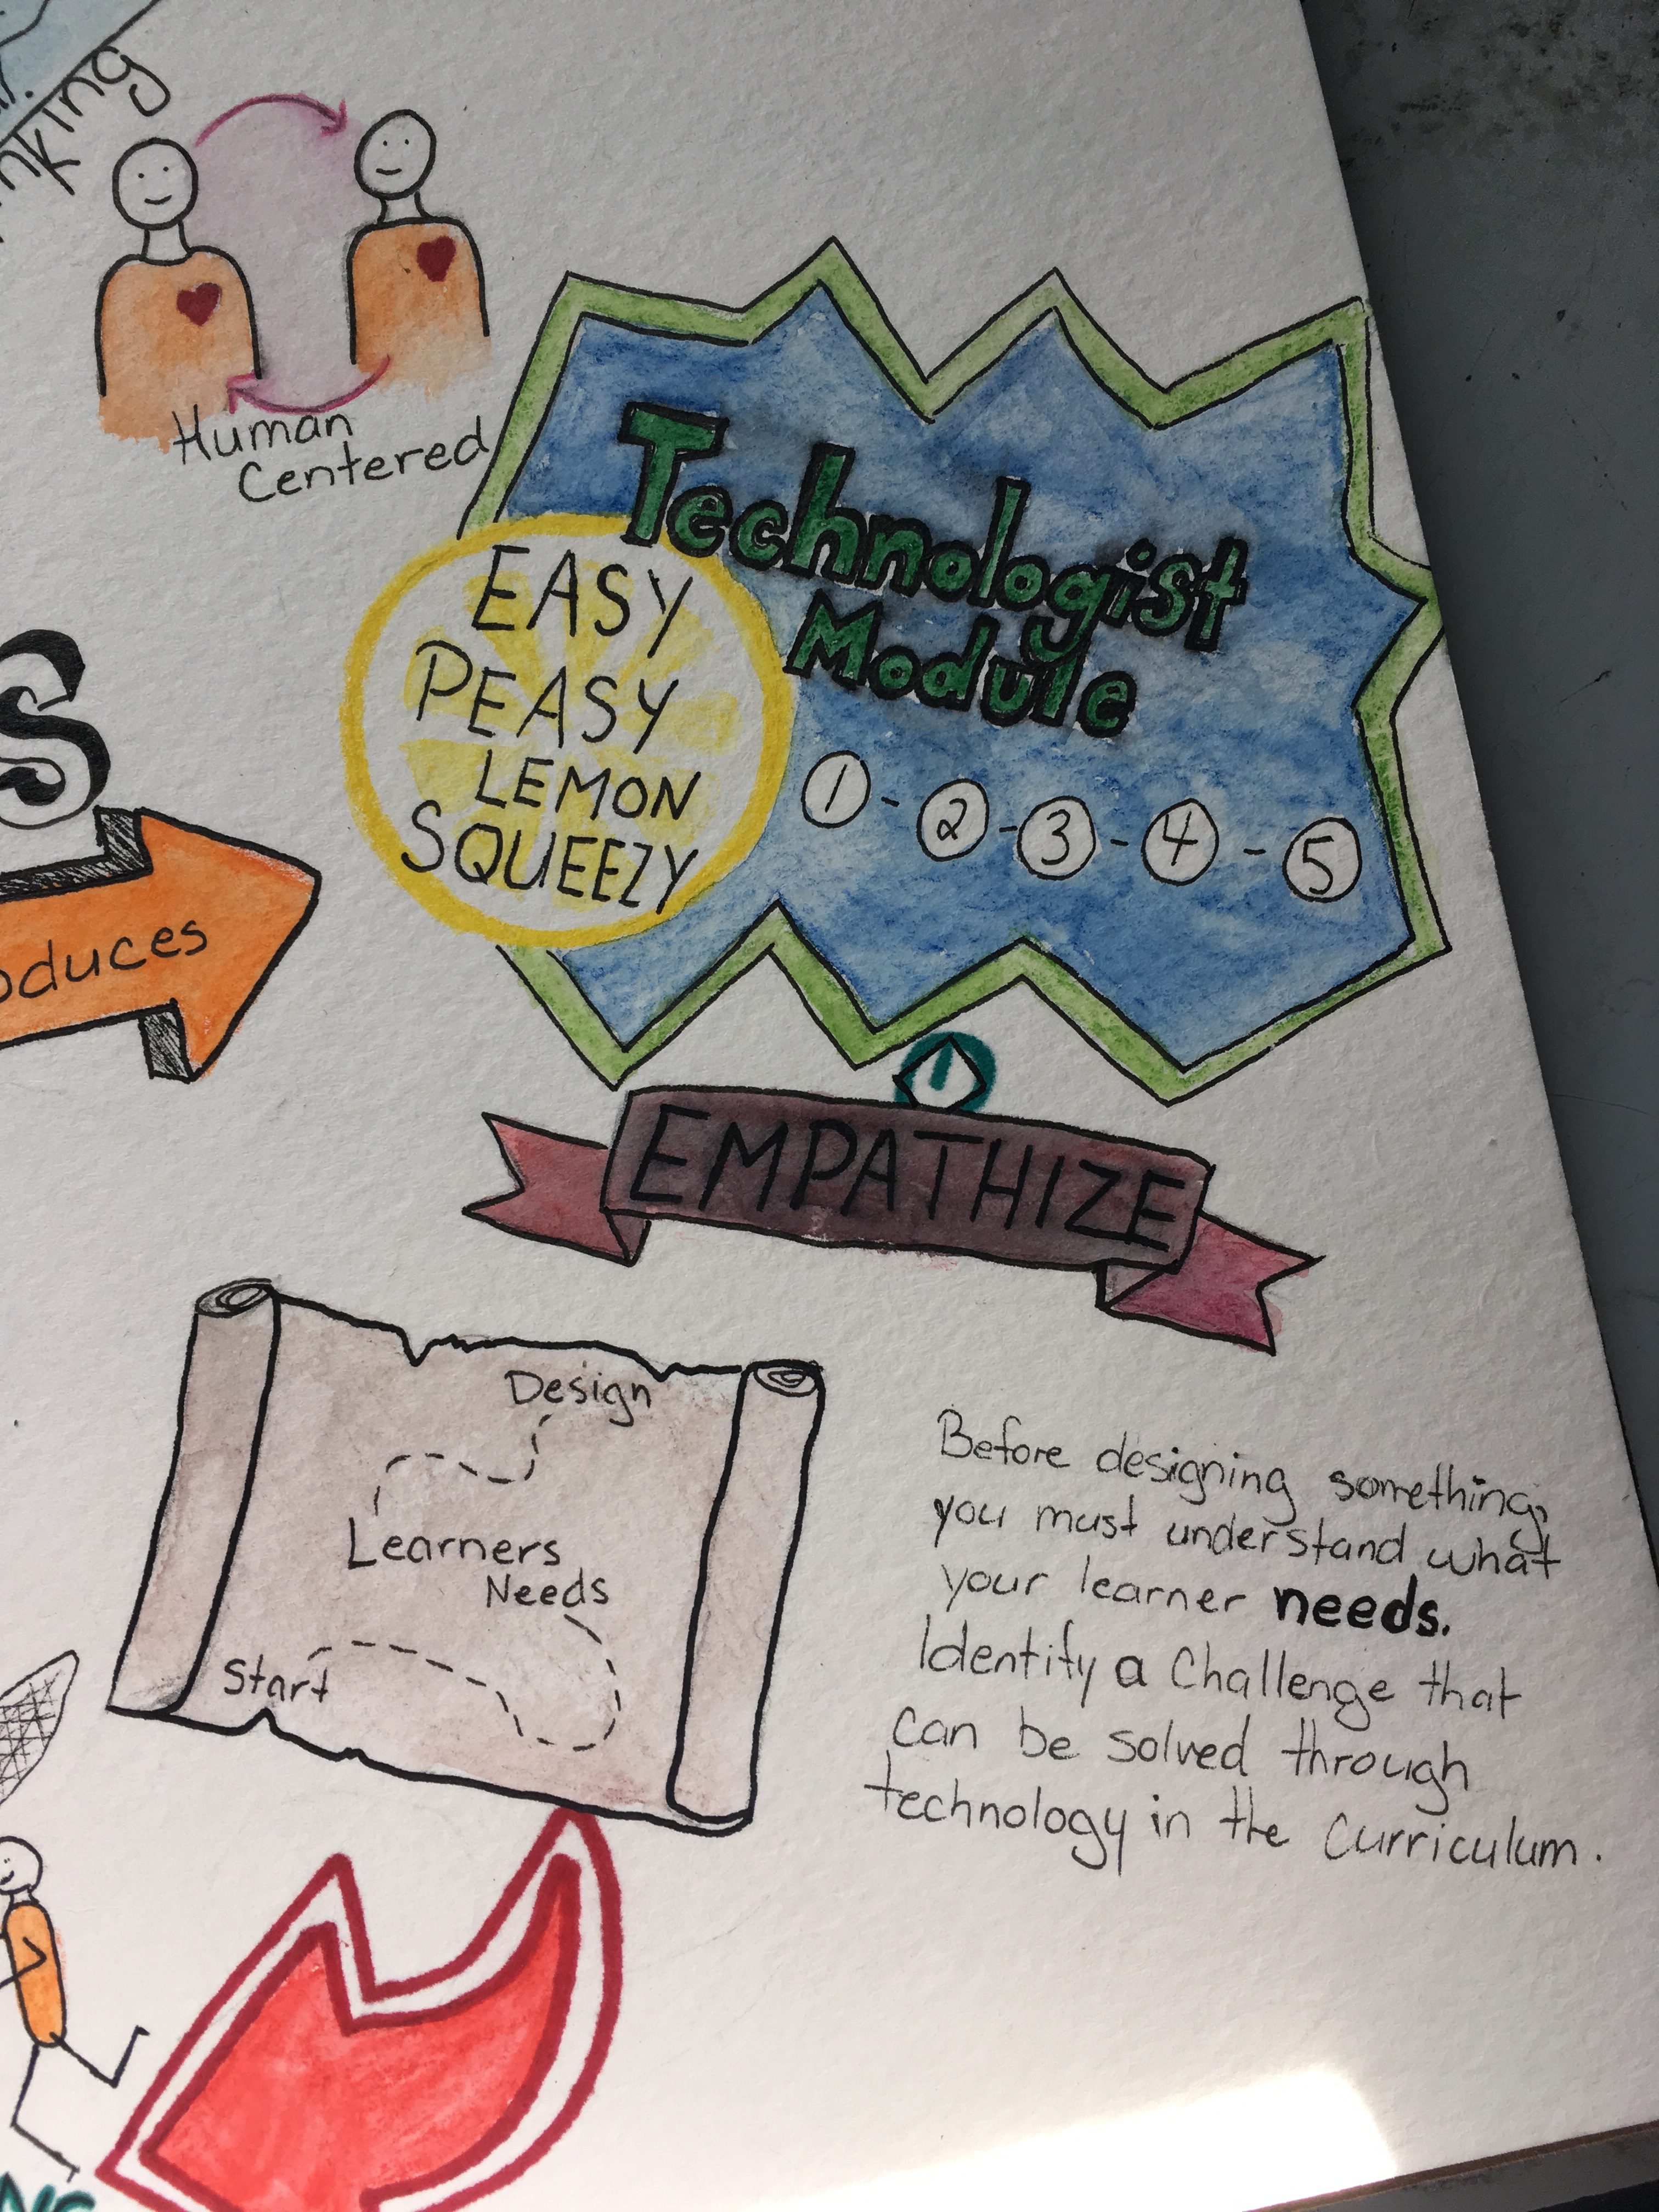
Before designing anything, we must understand what the users need, and not cloud this with what we want. During my practicum, there were many activities or games that I WANTED to do, however, with tests and projects due, I knew the students needed more time to prepare. Putting student’s needs should always come before anyone’s “wants”. The article suggests creating empathy maps to understand what the users think, feel, do, say and hear, and their difficulties understanding course material. I think understanding our students and knowing how they view things or feel about certain material is crucial in the early lesson planning stages, as well as this design-thinking module, especially if there is a student who is sensitive to a specific topic or is easily triggered during specific tasks. This feedback will help in the next step of the module, which is to define their challenge.
Defining their challenges will help create a focal point in which we can use to build our solution. I have depicted various “good learner challenges” described in the article on my sketch note such as “provides focus and FRAMES the challenge”. Get it…. It’s in a picture frame….. ANYWAYS, in a classroom I’ve found that if I can pinpoint exactly where my student is struggling, say a certain step in a math problem always tricks them, then I can easily make a plan to help them. If I don’t understand what or where the challenge is, it is going to take longer to help them out. It’s easier to fix one step rather than starting all over from the beginning.

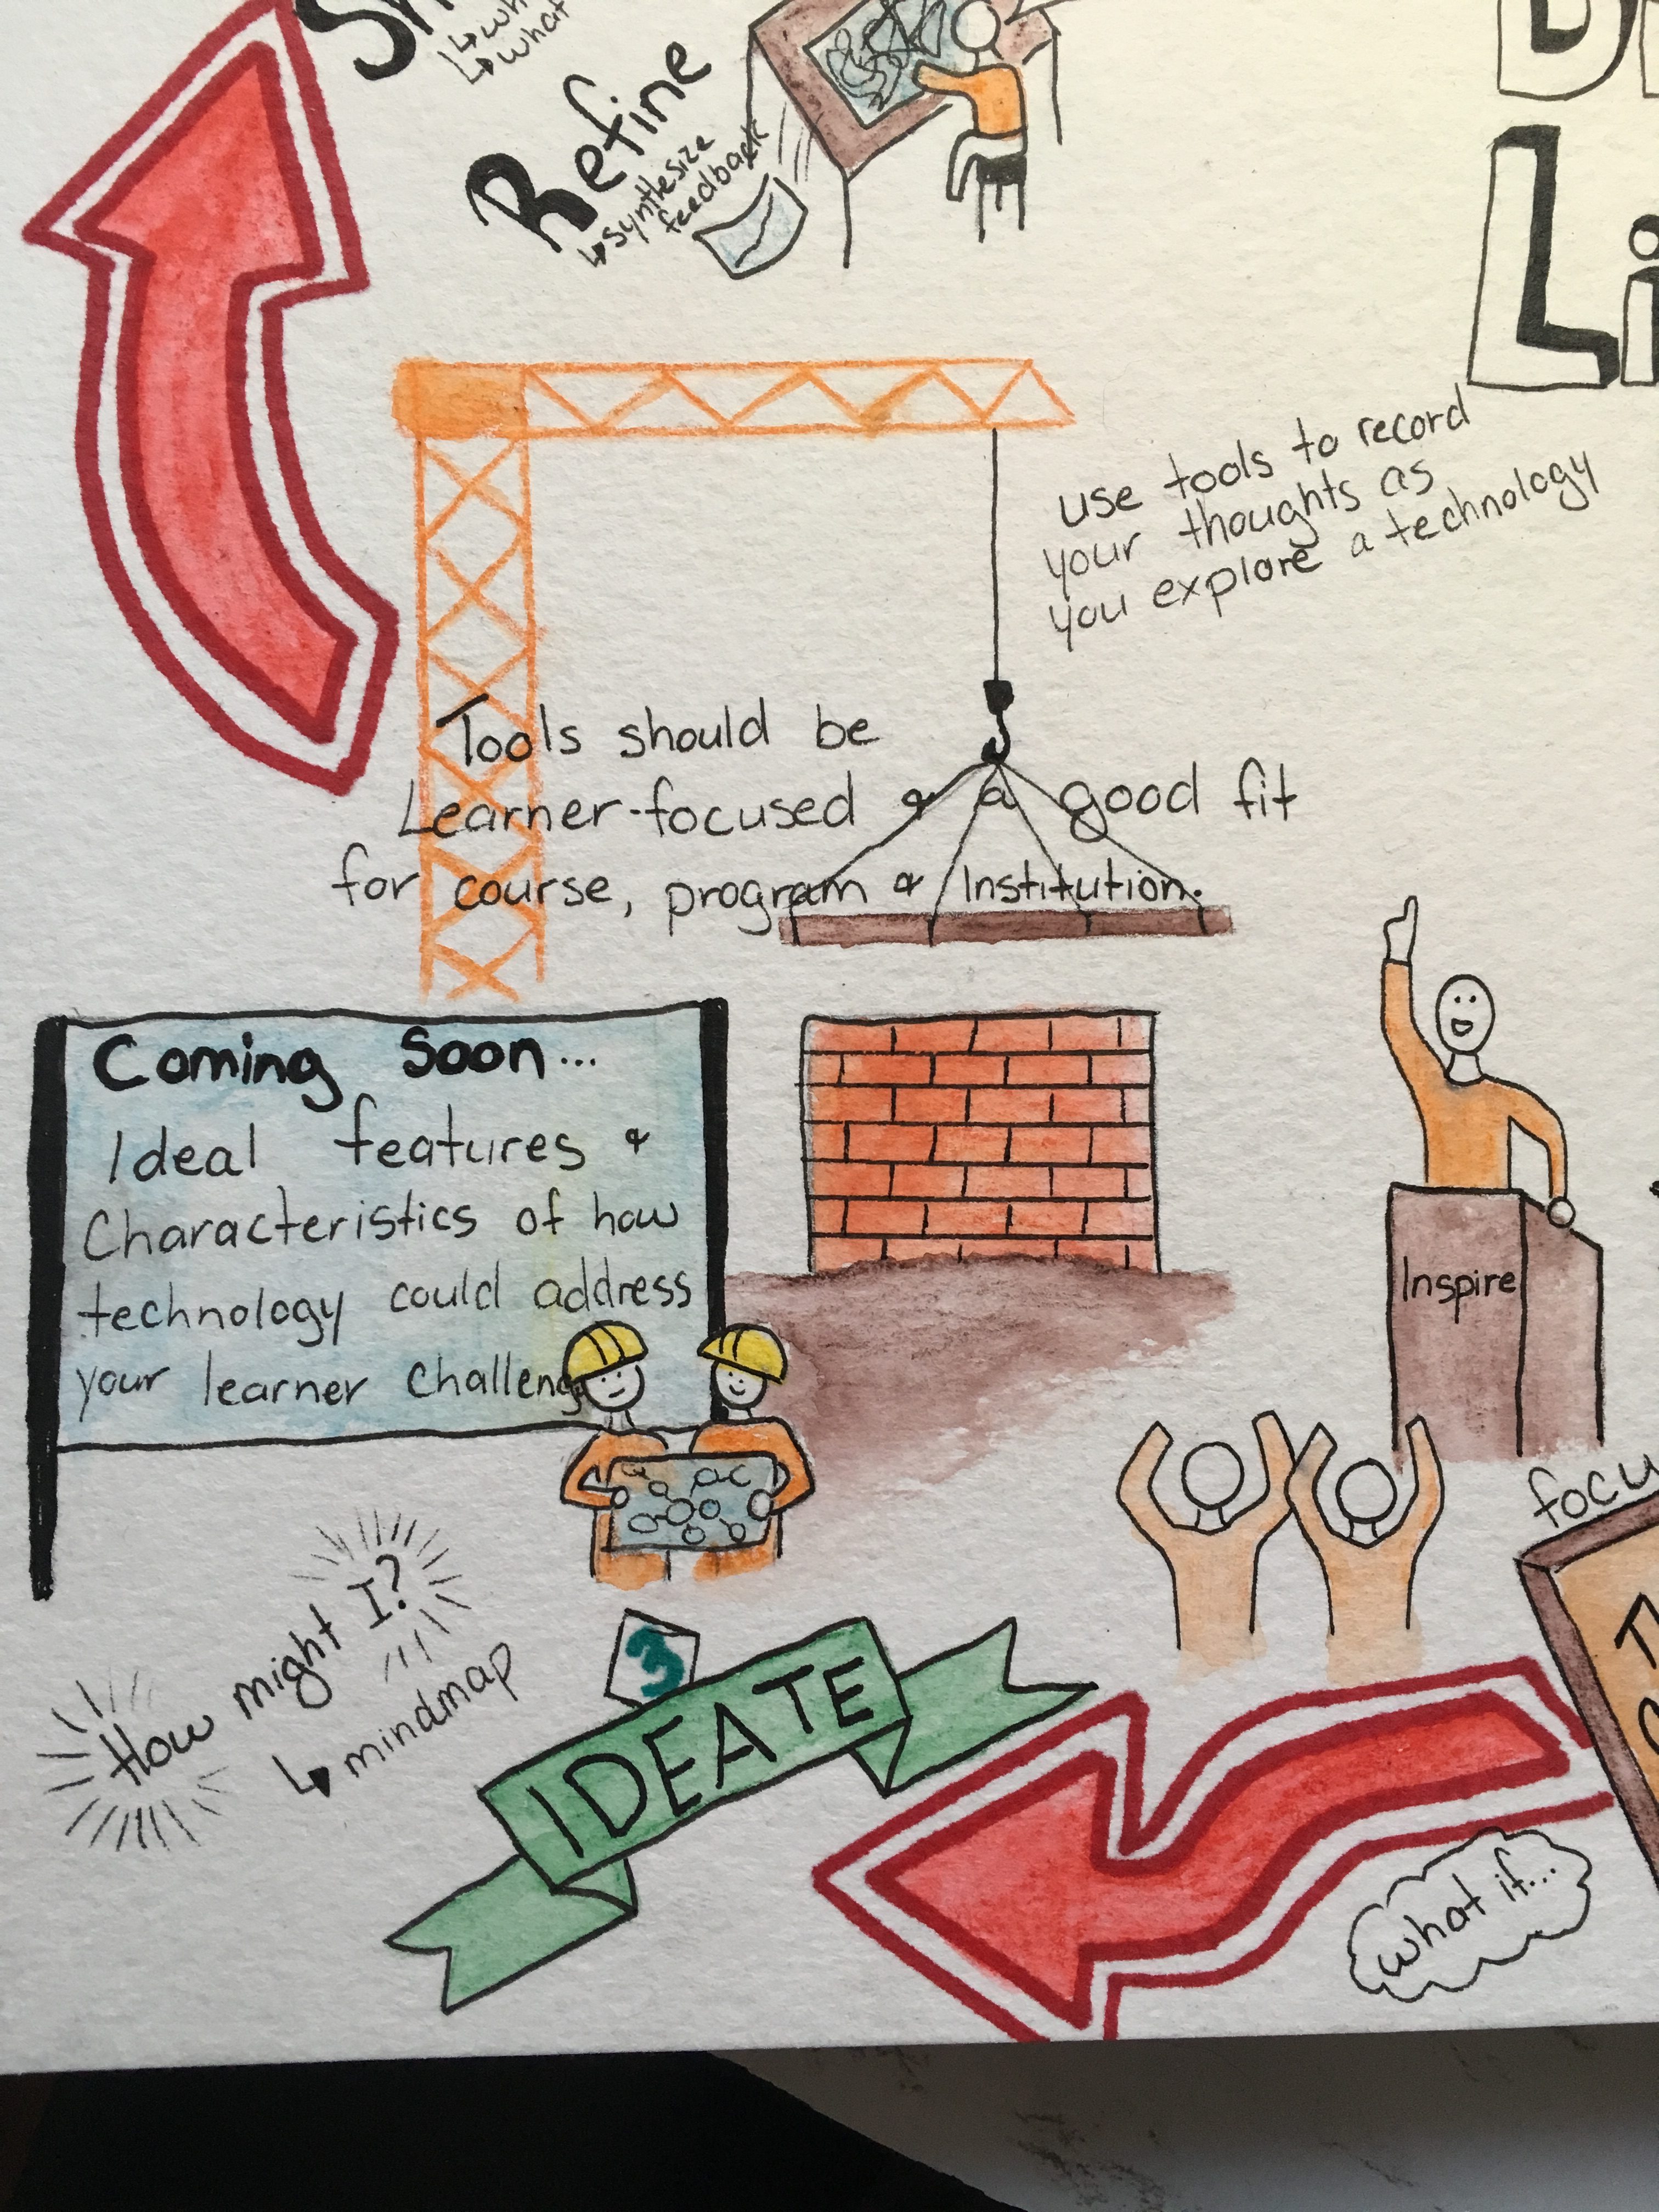
Once you have taken steps to understand your learner, and identified their challenge (whether it be a mental block or physical block) it’s time to form an idea. Generating mind maps, or using similar tools will help outline all ideas and tools that may benefit your learner. It will take time to sift through the tools and see which offer supports or features that will directly help a learners needs. I find this brainstorming step is usually the one that is most tedious, and stressful, however once I get my thoughts organized in a brainstorm, or mind map, things usually start flowing smoother.
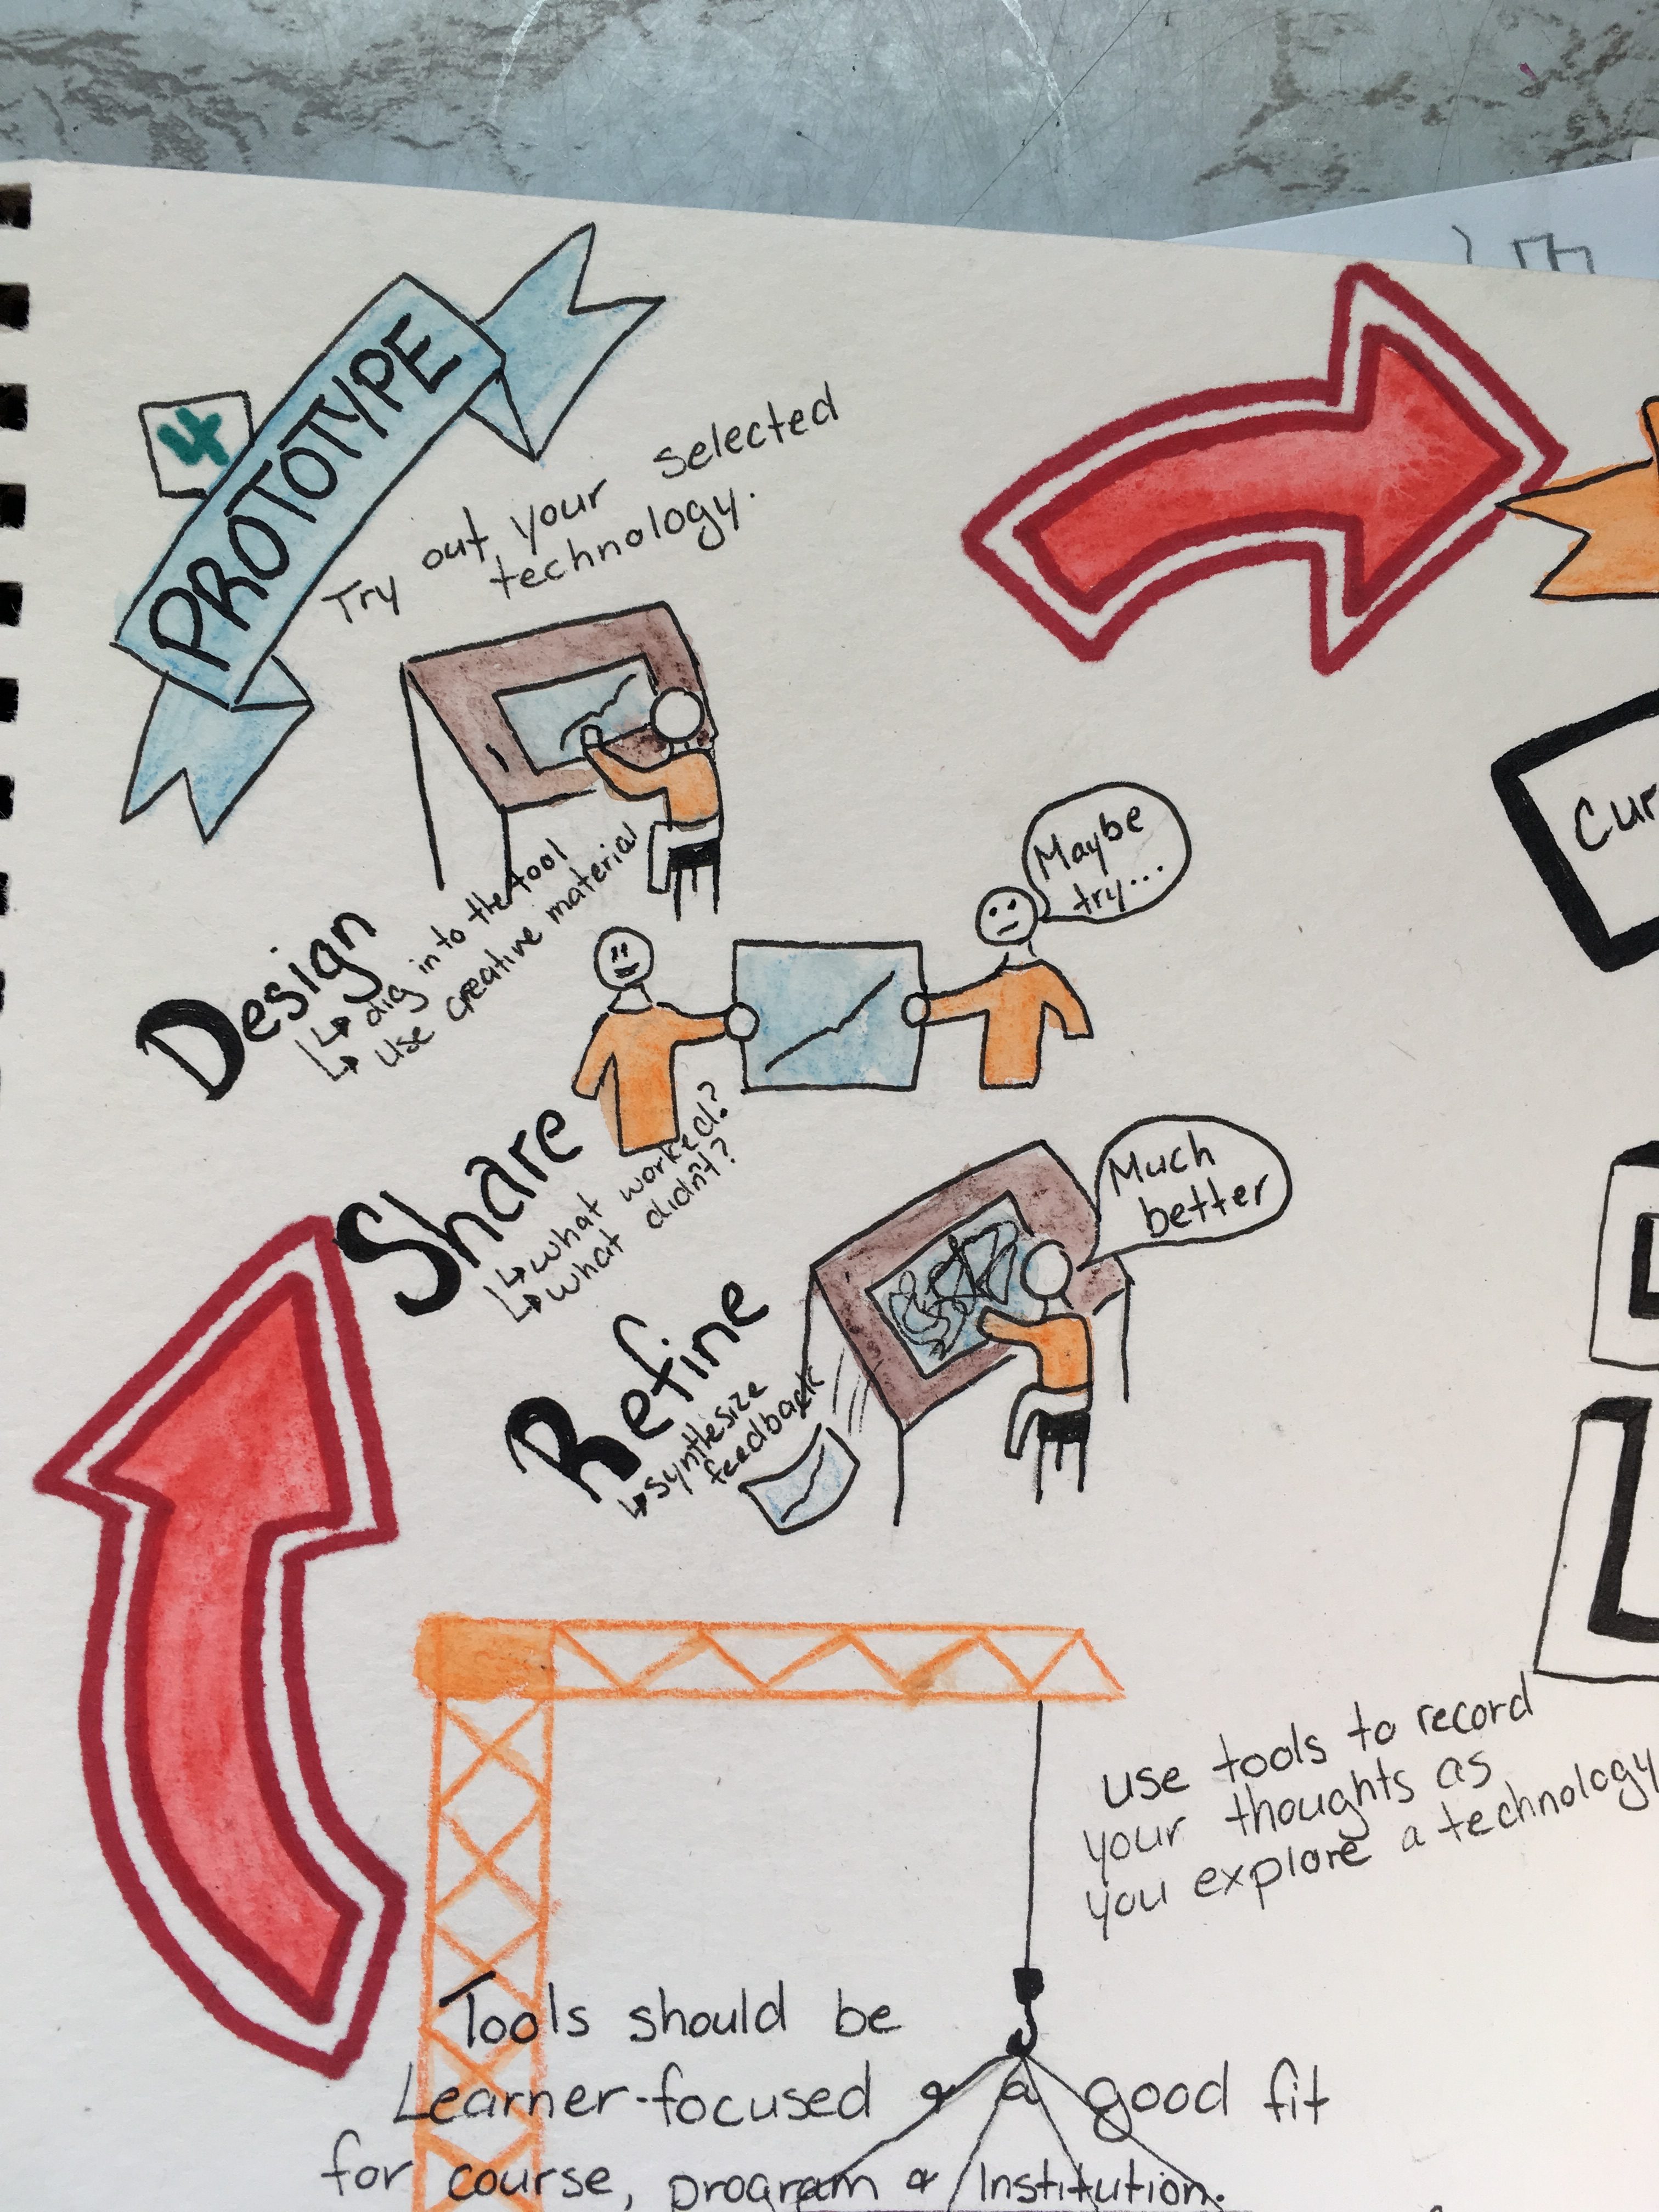
Now that you have selected a technology, you may begin creating your tool or prototype. You must design a desired outcome, share ideas with others and consider their feedback. Using their opinions alter your design so that it will best suit your learner. I always found this process helpful in my own creative projects such as a piece of art. Often I would need another set of eyes to point out something I was blind too and work through it before I could really be satisfied with it. Even when it came to my practicum, I thought I would have an amazing idea for a lesson plan and would pitch it to my AT, they would give me truthful feedback such as “maybe try this aswell” or “ instead of this… try this”. It helps getting an experienced opinion on things we are unfamiliar, or unsatisfied with.
Connecting to the curriculum in our field is really the end goal (if we aren’t counting raising children to be wonderful humans). We are required to teach specific components, but have the freedom to put our own spin on them. So at the end of our planning stage or the lesson or design we have to ask ourselves, how does this fit into the curriculum, and what will the students take away from this? Are there clear learning goals they can follow, and steps to succeed?
-Paige Godin