
Good evening everyone and welcome to my second and final multi-media reflection for #UWINDIG2020. Technology has evolved tremendously over the past 20 years and we can only expect it to grow more and more. From parents to educators, even youth themselves, there is concern that technology may be negatively impacting our students, children, and youth altogether. Though, as educators, we must take it upon ourselves to do what we can to stay on top of how technology is growing and use it to our advantage. Forcing it out of our classrooms is not the way, we must embrace it as it is the 21st century!
After closely inspecting what the Technologist Module has to offer I began to pick apart the key points, summarize, and incorporate it into an infographic, using the one and only, Canva!
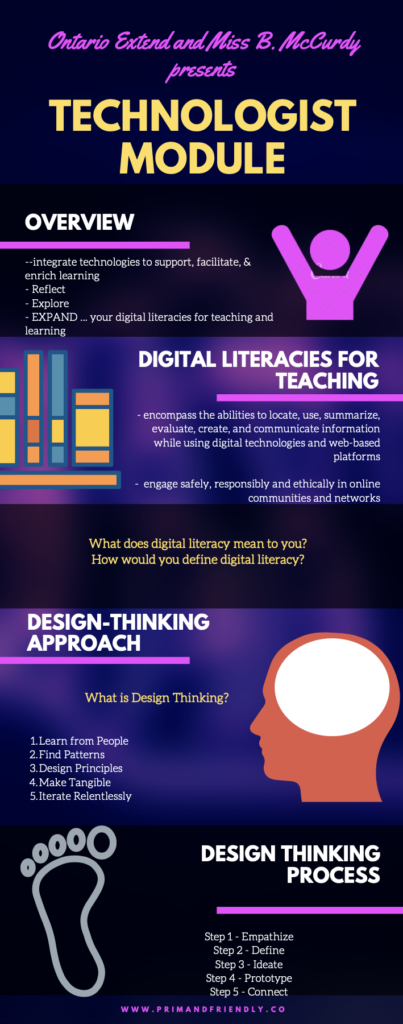

To begin, my infographic provides an overview identifying what the module will provide, touching on how we should be reflecting on our current digital literacies, then exploring how we can use these/new digital literacies to our benefit and our students, more specifically to address learning challenges in particular, then expanding our digital literacies by using the SECTIONS framework, as well as tech-based learning activities for a more “design-thinking approach.”
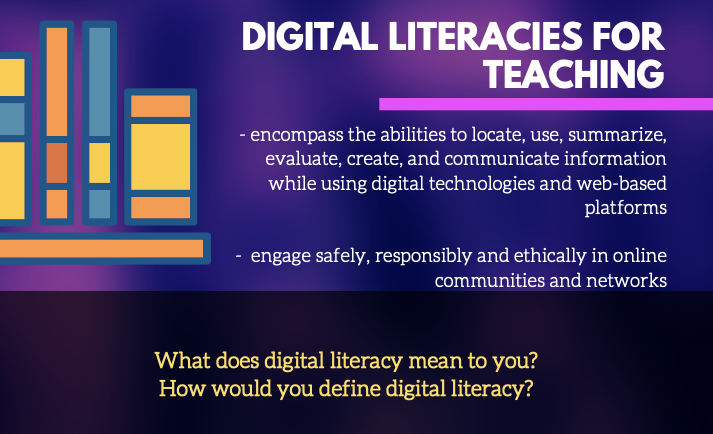
We then move onto the “Digital literacies for teaching” section which considers incorporating technology into our classrooms using multiple digital literacies. As well as touching on how these literacies “encompass the abilities to locate, use, summarize, evaluate, create, and communicate information while using digital technologies and web-based platforms.” As well as providing insight on how “to engage safely, responsibly and ethically in online communities and networks.” This section goes on to provide websites that define digital literacies in more than one light, so we can all reflect, explore, and expand our digital literacies.
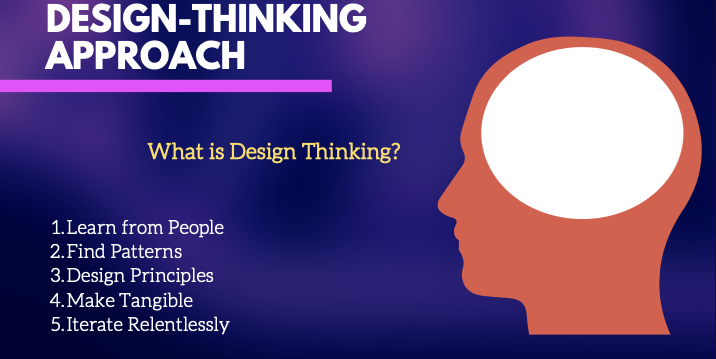
Next, we are introduced to the “Design-Thinking Approach” which outlines the 5 key elements, which I explain using the youtube video “What is Design-Thinking (2015)”.
- Learn from People – talking with students, hear their motivations, habits, their likes, frustrations – research shows that active kids and the sedentary at their extremes are good at giving voice to the problems that those in the middle might feel but experience more difficulty identifying it.
- Find Patterns – identifying similar patterns in students learning habits can be beneficial to use to engage students in future learning.
- Design Principles – “facilitate social interaction at all times”, “boost rewards early to increase adherence”, “motivate family activity, not just kid activity”, “devote special attention to stay-at-home kids.”
- Make tangible – creating an accessible way to apply these design principles to specific ideas
- Iterate Relentlessly – create new ways to engage students and youth
“Design thinking is a powerful tool to reveal new ways in thinking and doing”
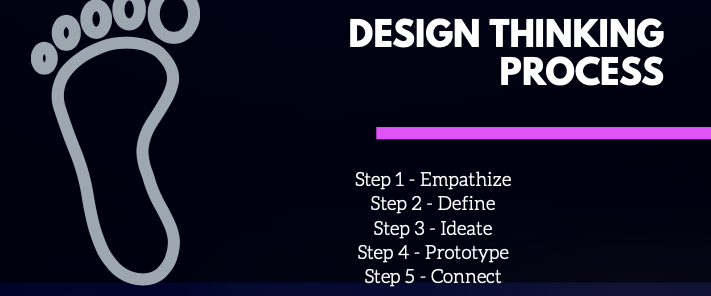
Following the design thinking approach, we are introduced to the “Design-Thinking Process”. Which is identifying in 5 steps: Empathize, Define, Ideate, Prototype, Connect.
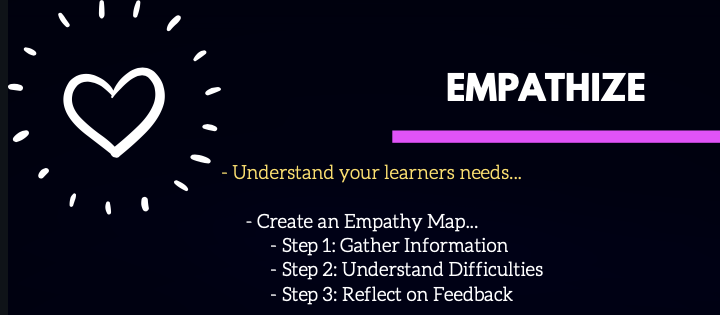
The empathize section of the module identifies how to understand how to effectively design something that will be used by someone else, you must first put aside your own desires and focus on what the other needs. This can be accomplished by introducing the Extend Activity where you can facilitate an Empathy Map using four simple steps…
First, to gather information about your students, this can be done in many ways from evaluations to conversations! Secondly, communicate with your students to understand what they have trouble understanding and/or doing in your class/course. This can be achieved by asking students “what do you think, feel, say, do, see, and/or hear?” The third and final step of the empathy map activity is where you should reflect on the feedback you have gathered and create a physical copy of the map itself for an artifact.
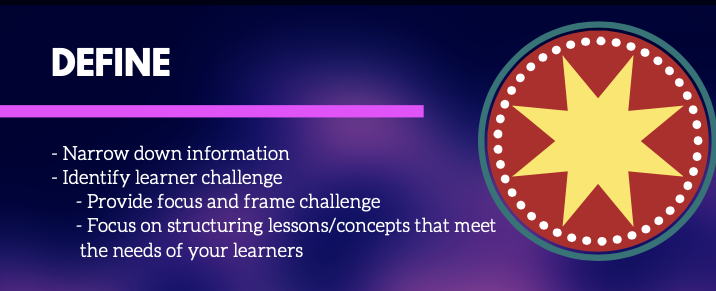
The empathy map activity can be used here to identify patterns in challenges your learners’ experience and common themes for ways to engage them to boost their learning experience as well as refining information they may have struggled with. The next step of the design thinking process (define) is to use the information we have gathered in order to put together and identify a plan for what you can do to support your learners and their specific learning challenge.
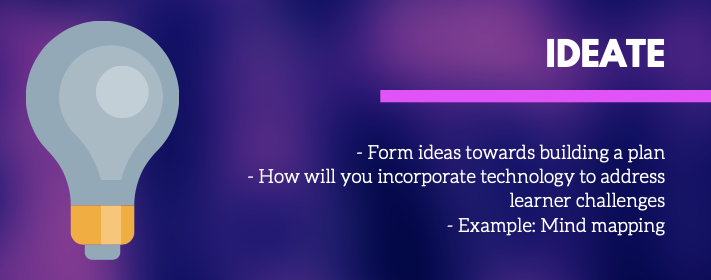
We then move onto the ideate step of the design thinking process where we take everything we have explored, gathered, and identified, and put it towards forming and building a plan where you can incorporate technology to address the learners challenge and how it can be broken down to be better understood.
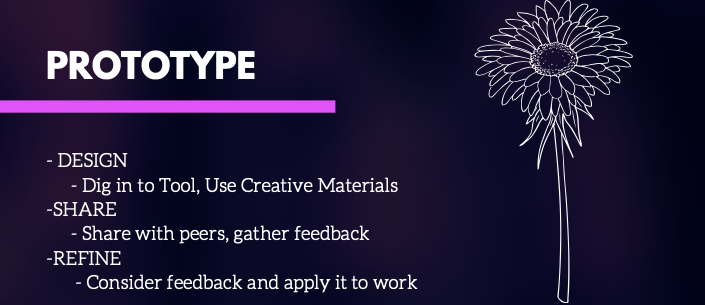
The prototype step is where we take all of the steps from empathizing, defining, and ideating to come up with a final product. This step is important in applying everything we have learned and considered and putting it into effect. There are 3 important steps to developing an effective prototype…
The first being DESIGN, here we must “Dig into the Tool” where we consider how this tech tool can be effective and not effective and where we have room for improvement. The module mentions that it is important to keep in mind that not all tools are going to “solve the learner challenge entirely.”
The second is to SHARE, this is where we take our prototype and share it with others, gather feedback on what did/didn’t work, what questions there may be, or things to consider for your prototype in regards to other learners.
The third is REFINE, this is an important step where you can take a step back to not only view your final product but view it through multiple perspectives thanks to your peers to build a more efficient and effective creation that best suits your learner(s) challenge.
Now as we come to a close, we mustn’t forget the importance of the curriculum! Isn’t that what we are all here for anyway? Take a step back and look at your tool overall and consider if and how it is relevant to the learning goals you wish to obtain and be sure it connects back to the curriculum. We should also consider all of the parts of our tools, how they fit together and flow in order to be efficient and effective.

Module Checklist
Overall, I feel that I enjoyed creating a Canva to educate myself and others on the Technologist Module, it was a creative and effective tool that I can see myself incorporating into lessons in my classroom in the future. As for my first multimedia reflection, I had created a sketch note which was fun, as I had the opportunity at expressing my creativity, though it was more time-consuming. Using Canva I had the opportunity to apply my creativity in a time-efficient manner which I can imagine would be more efficient in the classroom.
Resources:
Technologist: Overview