Monthly Archives: February 2020

Collaborating: To Infinity & Beyond!

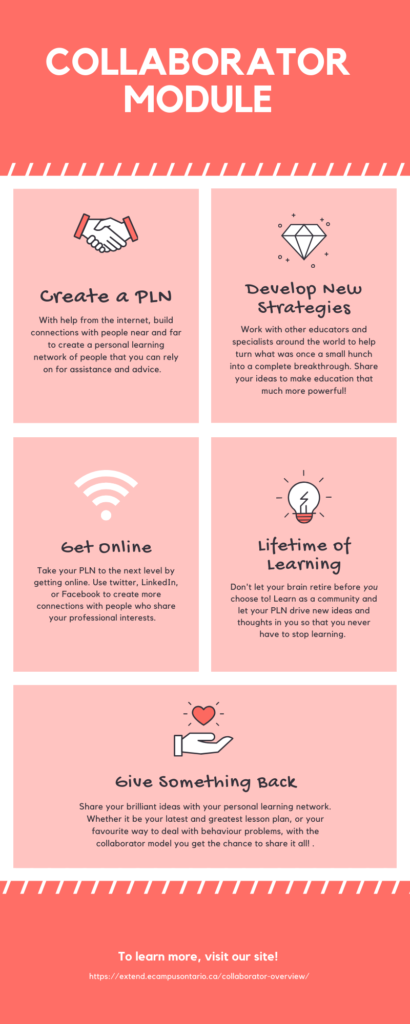
For this assignment, I chose to review the Collaborator Module of the Ontario Extend web site in the form of a Twitter essay. Although I use Twitter fairly often for work purposes, it was still slightly out of my comfort zone, as I am a visual, creative person, and as such, I felt summarizing what I read this time around proved to be more difficult, but as the module suggested, I stepped out of my comfort zone to try something new and really enjoyed it!

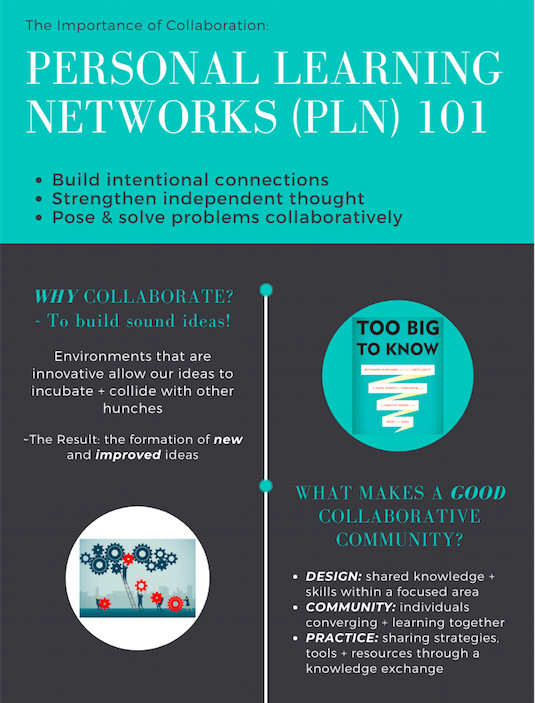
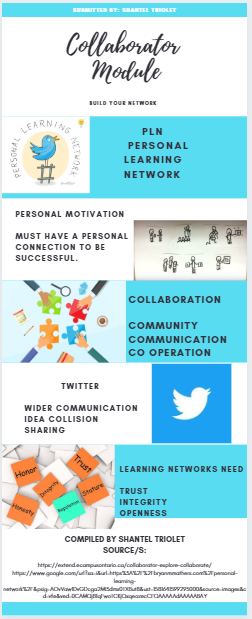
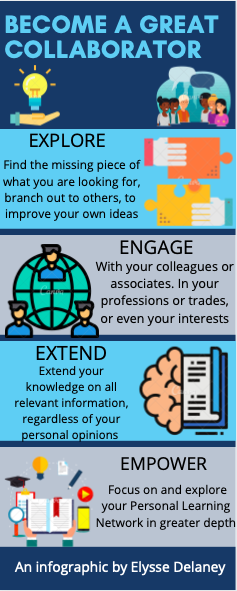
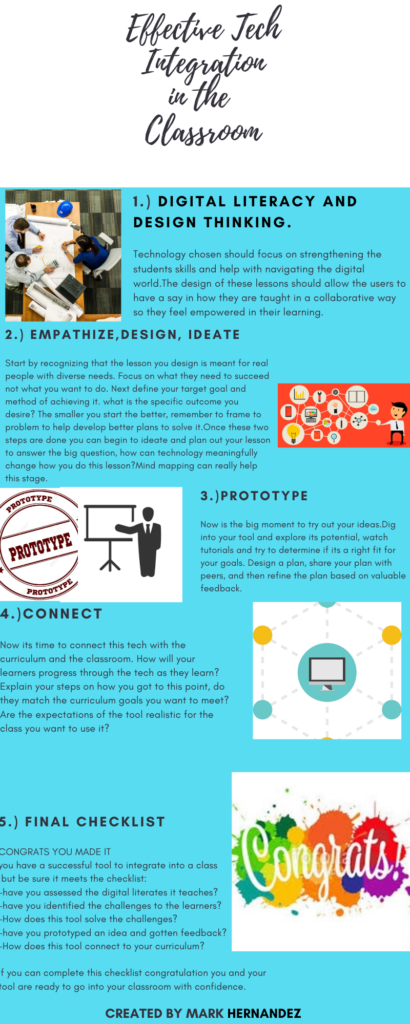
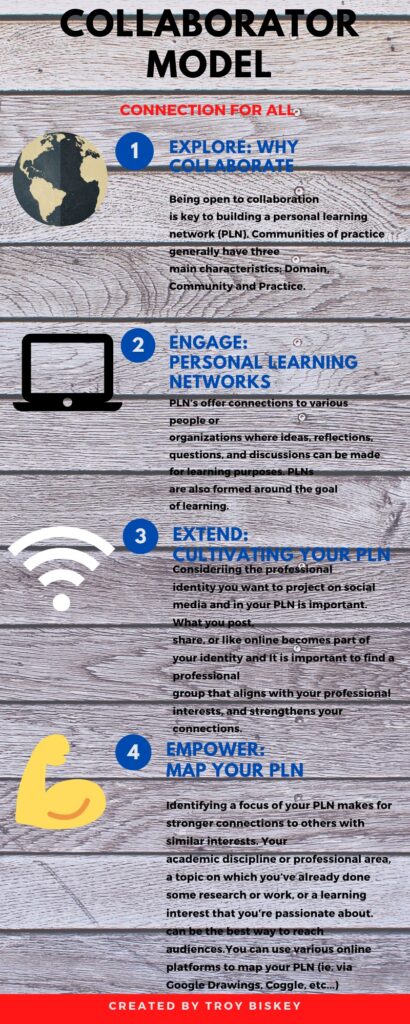
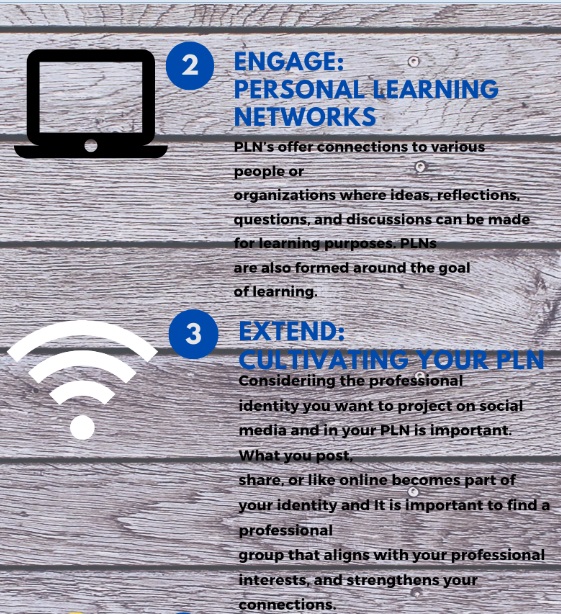
The Collaborator module itself is broken up into four sections, but I believe the main message and big idea to explore is that as educators, there are many different ways to build our PLN through collaborating with others and utilizing different multi-modal means, which in turn empowers and inspires us to grow and learn.

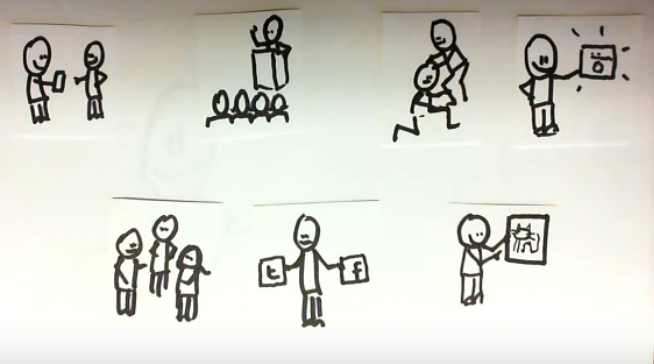
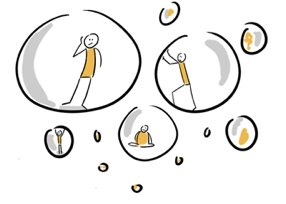
I particularly resonated with what Steven Johnson talked about in his video, “Where Good Ideas Come From.”

As someone who works in digital marketing, I am almost forced to generate new ideas daily that are creative and engaging. Often times I find myself developing these new ideas from past ideas that had not quite formed fully, but once I collaborate with other digital marketers, the other half of the missing puzzle seems to come together. I look at it like a maze: often times, we cannot find our way out, but with a little guidance and a push in the right direction from others, we can see the light at the end of the tunnel. The same concept can be applied as an educator; utilizing small hunches to build lesson plans and utilize your growing PLN to complete these lesson plans.

Speaking of growing a PLN, one of the greatest platforms to easily connect with others is through Twitter:

I found Professor Couros’ video to be the most interesting section of this module, as it offers educators a way to express their thoughts and collaborate with others in various multi-modal means; for example, I’ve used Twitter in the past to enhance my knowledge on digital analytics. As a visual learner, I was able to build my PLN of professionals in the field who shared videos, tutorials, and offered immediate assistance; all through limited characters because they saw those characters as something more than just words on a screen. This gave me the idea to utilize Twitter in the classroom with my own students for learning, as they can learn from other cultures and fellow students, just as I can.

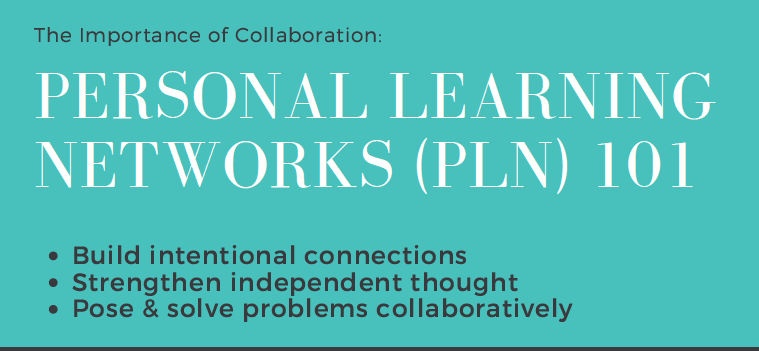
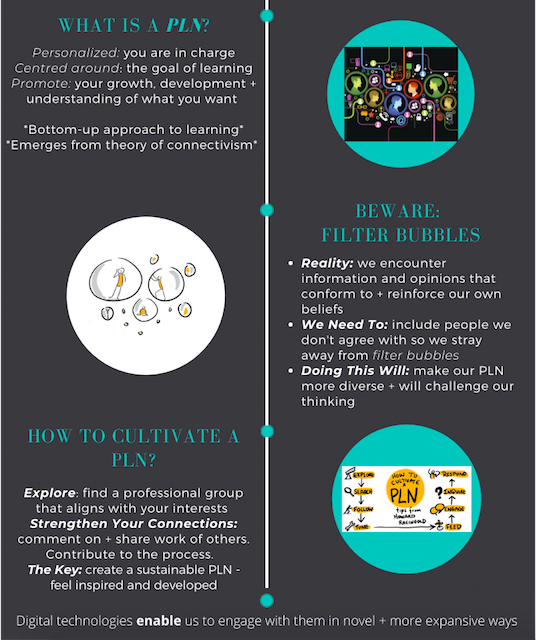
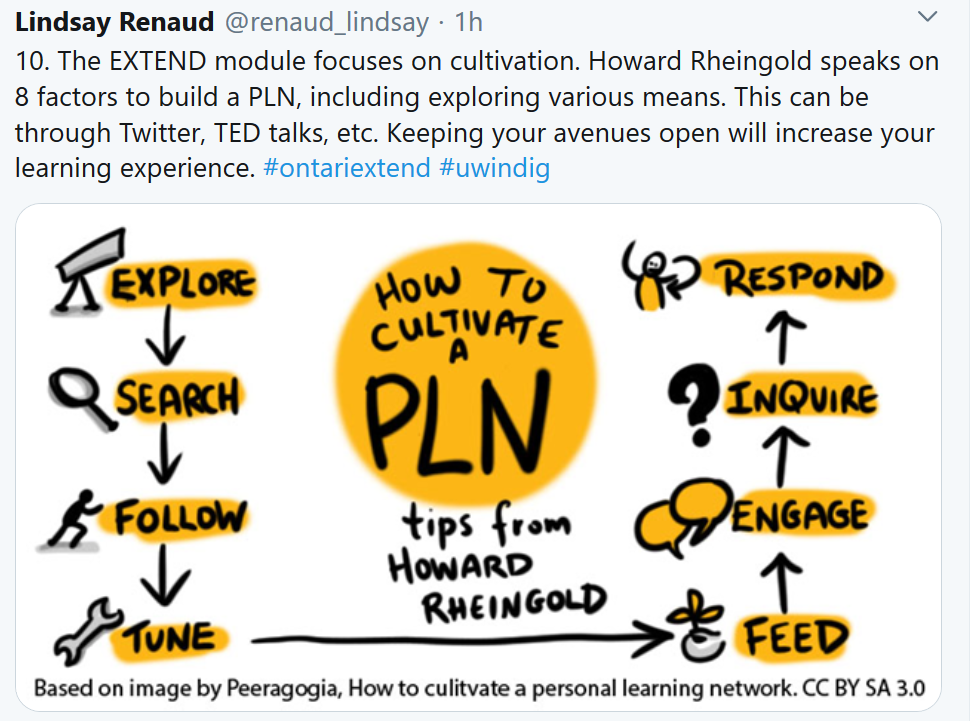
Although Twitter is one medium to collaborate and enhance your PLN, it is not the only way. I particularly liked Howard Rheingold’s mention of cultivating a PLN. I’ve used his suggestions in the past to build my knowledge, through attending workshops, watching TED talks, collaborating in online groups with other educators, etc.

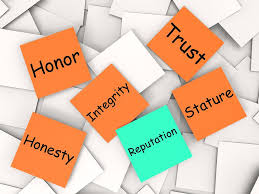
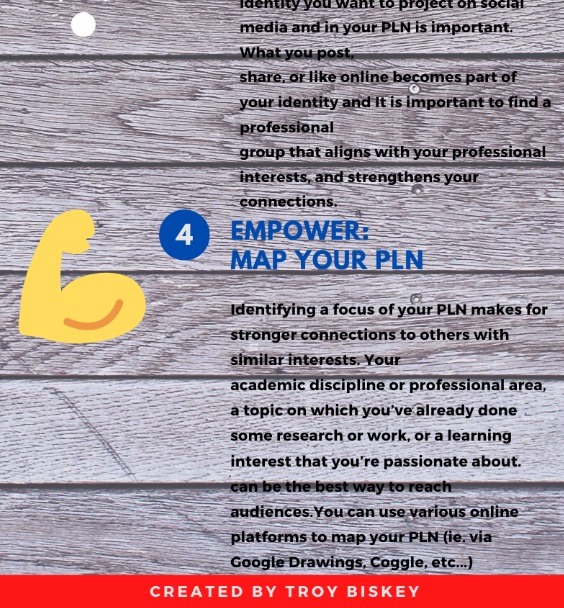
Although there are many ways to cultivate a PLN, I really agreed with Mary Wever on professional identity in your PLN.

I’ve chose to include some personal content on my professional pages, as I feel it helped build my PLN through understanding a little bit better of who I am behind the education and experience. Additionally, knowing some personal details about those in your network may help you step out of your own comfort zone and build a trust within your PLN. I know it sure has for me!

I loved the idea of using something like a mind-map to connect your PLN together. As a visual learner, this approach would greatly benefit me, AND I could adapt it to fit differentiated instruction (e.g. using speech or written forms instead of visual). The module also gave me a different perspective on collaboration (e.g. I never thought of collaborating to understand a different perspective from mine!), and how I may use it in my classroom to enhance not only my students learning, but mine as well.

Tagged ,

Personal Learning Networks 101

For my final artifact, I decided to try my hand at creating an infographic using Canva. This was my first attempt at creating an infographic as well as using Canva to do so and I found the experience relatively painless. The website was easy to maneuver and use and it was set up in a way where you did not have to think much about how to use it and manipulate the images, text or layout. I also found that it gave you a lot of leeway with what you wanted to create. It provided templates that you could use to create your infographic but it also allowed you to create what you wanted from scratch if nothing matched the picture in your head about what you wanted to create. I believe that Canva would be a great educational tool as it is a very flexible and assessable way to get our students to digitally create and display their ideas. I could picture using Canva in a variety of ways whether it’s to enhance student’s presentations or to create an artifact on something we are learning in class. It’s a great tool for students to display what they know in a more creative space.

In the background you are able to see the home page for Canva

Additionally, there were a couple things that I noticed about Canva that I did not like. One was the fact that most of the graphics I searched for in the side tool bar cost money to apply. For a free website, paying $1 for a photo or graphic is absurd, although there are ways that you would go around that. For instance, I uploaded my own images to my infographic that I took from the module or from google images. Furthermore, I found that adjusting certain objects and text boxes was difficult at times as it would randomly change the font size of the writing as well as the positioning of certain graphics. I also did not like the fact that you could not capitalize one word in a sentence. It was either capitalize the entire sentence or nothing at all. Thus, in order to add emphasis on one word in a sentence you needed to italicize or underline that word which I found did not do it justice.

On my infographic, Personal Learning Networks 101 I represent the key points made in the collaborative module from the Ontario Extend’s website. Throughout this reflection, I will reflect on why I designed my infographic the way I did and why I believe that it is important to get our students involved in building their own personal learning networks (PLNs).

When reading through the module my mind kept returning to three key points about why building our personal learning networks and collaboration in general is important. Using technology tools to build intentional connections with others, to pose and solve problems collaboratively, and to strengthen independent thought is key to building digital capacity for teaching and learning. Thus, I found it necessary to mention these three points at the beginning of my module to point out the importance of collaboration and building our personal learning networks since it was what stuck with me after reading through the module.

It’s important to approach each lesson with an openness to collaboration and creation. As teachers, we should be focusing on building our students PLNs from a young age. With the increasingly digital world, exposing students to the different platforms and how to cultivate a PLN should be apart of the curriculum. Thus, I found it necessary to mention in my infographic, the ways in which we can cultivate a PLN and why it is important. I found that the diagram taken from Howard Rheingold‘s article successfully and easily mentions the steps and tips to cultivating a PLN.

In my experience, I built my PLN through my classes and clubs at the university, my involvement with soccer and Hospice as well as a variety of social media sites (Facebook, Twitter etc.). I believe that it is important for everyone to have a niche of people who share the same interests as you so that you are able to discuss and express yourself with people who are interested in what you have to say. It provides an opportunity to converge and learn together as well as to share a variety of resources, strategies and tools between one another. Thus, I strongly believe that we should be teaching our students about the importance of collaboration and building up our PLNs in the things that interests them the most. Therefore, when creating my infographic, I decided I wanted to provide information on PLNs: what it is, why collaboration is important, what makes a good collaborative community, how to cultivate a PLN, and what to avoid when creating our PLNs. It’s essentially a quick summary of the key points I found necessary to mention to relay the message around why PLNs and collaboration is important.

I found this image captured the idea of the importance of collaboration when building up our ideas and how it takes a team to build a sound idea.

Lastly, I am satisfied with how my infographic turned out. I believe that it successfully summarizes the important aspects of the module and I’ve learned a lot about the importance of PLNs and collaboration along the way.I am looking forward to incorporating what I’ve learned from the module into my teaching as well as having my students use Canva to create different things to express their creativity and to show what they know!

My entire infographic (created using Canva)

Submitted by: Jessica Landgraff (104371589)

The Key to a Lifetime of Learning

Creating my artifact on Canva was a very enjoyable experience. Before making my infographic online, I had a pretty good idea of what I wanted it to look like. With Canva, I was able to seamlessly turn my vision into the actual artifact. It was very user-friendly and offered meaningful templates if you didn’t know where to start. As this was my first time using Canva, I spent time looking at other designs and templates they offer, and I know I will be using it in the future. 

I built my artifact on Canva, based on the collaborator module on e-campus Ontario.
 

The collaborator module is a method of teaching and learning that is based upon working with others in a personal learning network. In my infographic, I chose to highlight the reasons why someone would choose to use the collaborator module, and how they should go about doing that. 

Creating a PLN is all about building relationships with people who have professional lifestyles you admire. For teachers, this could include: someone who is very knowledgeable in your teachable subject, someone who offers behavior management strategies, someone who demonstrates good pedagogy, someone who practices UDL, etc. This personal learning network is a group of “go-to” people when you need some help in the classroom, are looking to spice up your lessons, or just want to learn more about your profession. 

For me, developing new strategies is always easier when I have the help of others. Being the person I am, I tend to find a method that works for me, and use that method until it is beyond worn out. The collaborator module forces you out of that comfort zone and pushes you to try new ways of teaching.

There are no limits when it comes to creating your own PLN. With the help of the internet, your network of people can come from any part of the world. Using websites such as twitter, LinkedIn, etc. you can connect with people who are truly the best of the best in your area of interest. 

The best way to commit to a lifetime of learning is to surround yourself with people who are dedicated to doing the same thing. When you go browse on twitter and all you can find are ways to strengthen your pedagogy, better your lesson plans, and be a more inclusive teacher, it will be nearly impossible to stop growing. 

As someone who always hated group work, I thought I would not connect with the collaborator module, as it would not line up with my teaching style. As I continued to read through different links and watch different videos, I concluded that this is a brilliant way to stay connected as an educator. It exposes you to so many different, yet meaningful sources that can really push me to be the best teacher I can be (as cliché as that sounds). I am super excited to start building my PLN in teachers’ college so I have resources ready for me as soon as I enter the workplace.  

Collaborator Module

Submitted By: Shantel Triolet Student ID: 104906459

I decided to write an infographic since it something new and I have never done anything like it before. I was very anxious when I picked an infographic because I am not very skillful with technology and working with new platforms always makes me nervous. This multimedia has allowed me to get out of my comfort zone and I used Canva to help me create this infographic. I found this format better than the sketchnote I did last time as it allowed me to focus on the key points and they were much easier to highlight and draw attention to. This infographic allowed me to be creative while still conveying the important detail from the module.

In the Collaborator Module the main focus is on creating, building, and maintaining your Personal Learning Network (PLN). One of the main points discussed is in the video Using Twitter Effectively in Education by Alec Couros, he mentions how Personal Learning Networks got their start and for a PLN to be successful educators need to be personally motivated and create connections with people that are about more than just work. People connected through hobbies and personal interests before working together to collaborate on projects.

In order for people to collaborator there must be a sense of community and knowing there are are other people that are helping you with your ideas while you do the same in return. There must also be communication as well as cooperation for PLNs to be successful since people need to work together to accomplish their goals and build on ideas.

One of the main resources this module highlights is Twitter since it is an online media and helps people to share ideas with people not only in their area but around the world. This wider communication has resulted in global collaboration and built an online community that is dedicated to helping educators and growing as an educator as well. More people connected to each other has resulted in larger PLNs and more idea collision which has revolutionized the way educators are communicating and working with one another.

Having access to a leaning network is not enough. For a learning network to be successful they require trust, integrity, and openness. Everyone must be honest but kind at the same time, and everyone must contribute in order for the network to be advantageous. It is also important to continuously keep adjusting and adding new people to your learning network. You must have an openness and be willing to constantly strive to be better and work with new people who bring new ideas and skills to the conversation.

After working through the issues and figuring out how I wanted the infographic to look I am content with the outcome. I have learned a lot about the importance of PLNs and through designing this infographic I feel i have a more in-depth understanding of the module than if I had just read it. I am looking forward to getting started on building my own PLN. I am looking forward to incorporating technology into my classroom and I will definitely encourage my students to get out of their comfort zone since the final product will be more than just a assignment, but a new learning experience and will hopefully instill the idea of trying new things to my students.

Collaboration: Team work makes the dream work!

I decided to look more in-depth about what the Extend collaborator module had to say. I chose to create an artifact using the key points from the collaborator module because as an educator I believe that collaborating is important to improve your own knowledge and also a way for others to learn from you. I’m not the best when it comes to technology but I decided to challenge myself and share my thoughts through an infographic. 

This module explores 4 sections for online collaborators, it offers ways to explore, engage, extend and empower our personal learning networks through collaborating.

First, we should be exploring what is offered to us. Sharing, connecting and reaching out to as many people as we can, so our ideas can expand. Steven Johnson mentions in his video “ Where Good Ideas Come From” that we seem to disconnect when it comes to collaborating with others; however, the only way for our creative minds to form new ideas is to connect with others and branch off their ideas to create something new. Twitter would be a great app to use in a classroom, it gives your students the ability to connect with others and learn about their views.

world map GIF by Harvard University

Next, it is time to engage, Dr. George Siemens mentions in his video “Overview of connectivism” that “social connection is a process of learning”. This was a key moment that stood out to me because, in my opinion, it sums up what this whole collaborator module is trying to teach us. Connecting and being social with others is a form of learning and gaining new knowledge. I know from experience that when I hear or see someone else’s ideas online or in person, I like to take what they said and form it into my own thoughts so it will keep expanding for future learners. With your PLN’s you have the freedom to share with whoever you feel like and they get to see what you have created yourself.

Next is to extend your knowledge, not only twitter but multiple other digital tools can be used to create and alter our personal learning networks; however, we do not realize what important information is being edited out from our lives. Eli Parser mentions in his Ted Talk “ Beware of Online Filter Bubbles” that filter bubbles are affecting how we view the world. We have to extend our knowledge before we form a final opinion.

Finally, it is time to empower, we are constantly growing and building our personal learning networks, from everything we search on the web, to other people that we choose to learn about. It’s time to focus on your own PLN’s, making it stronger and personalize it any way you want. There are many ways to show your PLN through the use of Twitter, Google drawing, YouTube etc. Share and map out your ideas for others to see and make your personal learning network anything you desire. 

Thanks for reading, 

Elysse

Integration of Meaningful Tech in the Class

Teachers have strived for years to create a sense of meaningful tech integration within the classroom. The struggle, however, is to make the tech more than just a prop but to transform it into a piece of learning inside of the larger lesson. The problem is how to achieve this feat? Everyone knows brief google jujitsu and you can find a visual plethora of open source tools made for classrooms, but how do you pick the right one? and how do you even begin to implement it properly?

The process of design thinking illustrated

This is where our Technologist module shines. The goal of this module is to provide educators with a strategy, or framework of steps to guide your decision making in tech integration. This module hosted by Ontario Extend allows the teacher the ability to work past the marketing hype and the facade put on by businessmen who haven’t seen a class since they graduated, and use their own interactions and ideas to integrate tech.

The module encompasses 8 key areas of focus or “sections” some of these stages compliment and works with one another others are separate but connected. For reference, I have created an infographic displaying the sections and their key concepts.

The model encompasses 8 sections, however, I found that several were so closely connected they often could be done at the same time. For example one cannot work on teaching digital literacies without encompassing some elements of design thinking, or else you wouldn’t know which specific elements to focus on.

Focus on a specific skill instead of a broad generalization of “digital literacy”

The module follows a sense of flow going from one area to the other in succession and as you reach each new section a more in-depth view is given however the focus is heavily upon identifying specific digital literacies to target for learning instead of just a generic “digital literacies learning”. Educators can use the module to not paint broadly but to hone in on where the student needs improvement most. This pairs well with the idea of the frequently creating outlines, charts, mind maps, or other physical reflections of what you’re attempting to do, whether it’s through empathizing with empathy graphics to highlight students specific learning goals, or fleshing out a prototype with a mind map to show your goals, This module focuses heavily on creating visual reflection of progress to show what you have created.

As a history teacher, I find that many of this section is already used, just often not for tech integration but for general lesson planning. In order to present this material, I find I must frequently target a specific area and reflect heavily on how I plan to get there. I find that the steps of this module would have been helpful for my lessons that required student interaction with tech and the content, as while I was successful in implementing lessons, I often forgoed tech simply because I was unsure which would be most appropriate or useful. I found that the Sections framework was especially helpful as it has given me the tools to narrow down which tools to integrate. Hopefully with this new armament of knowledge future lessons will flourish and become more successful.

Collaboration: Guaranteed Satisfaction… I Promise.

In baseball, there is a mandatory rule, three strikes and you’re out; but three lucky strikes…. and you’re in. Right now you’re probably thinking “What does this have to do with collaboration?”, and the (obvious) logical explanation for that would be, I don’t know. Although I will tell you something I do know, and that is collaboration in the form of Personal Learning Networks (PLNs) are beneficial for your pedagogical practice. Now you’re probably thinking “How? What’s he talking about?”, well I’ll tell you all about it in the rest of this blog so bear with me. Get strapped on in, open your mind, hang loose, and let’s get ready to grind.

Canva infographic created by Troy Biskey illustrating the Collaborator Module.

The first thing you need to know is that PLN’s offer connections to various people or organizations where ideas, reflections, questions, and discussions can be made for learning purposes. While PLNs are not new, the platforms they are built on today have changed. Many teachers use social media to create their personalized, digital PLN.  It is also important to keep in mind that there are four elements when it comes to creating a PLN which include: Exploring, Engaging, Exploring and Empowering. Let’s learn more about these steps, shall we?

Canva image Step 1: EXPLORE: WHY COLLABORATE? Find out why in the next paragraph.

As a teacher candidate myself, I believe that outsourcing and researching topics to build my pedagogical practice is an excellent way to improve my own knowledge. I find that collaboration in terms of learning is a great way to improve knowledge, as well as having opportunities to teach others. Being open to collaboration is key to building a personal learning network (PLN), the aim is to broaden your network to include cross-disciplinary skills and insights. These online communities of practice generally have three main characteristics: 1. Domain: shared knowledge and skill within a focused area, 2. Community: individuals converging and learning together, 3. Practice: sharing strategies, tools, resources, and examples through a knowledge exchange. One of the absolute coolest things about PLN’s is that they can be more personal, built entirely by you. How wild is that? Pretty sick I would say. I hope I’m selling you on collaboration so far… STEP 2!

Upclose shot of the infographic on steps 2 and 3.

The next steps here are ENGAGE and EXTEND, the goals of which are to have others connect to you and you with them in order to share some new information with others, as well as getting your name out to the public. For me, I’ve found that I am interested in learning other people’s interests, especially when they have a passion for their teaching. With PLN’s you are able to control who sees your work, you can share your work in whatever way you choose to do so, and you have the option to observe other people’s work without having to comment. PLNs are also formed around the goal of learning. These modes of learning can be organized professionally or through personal interest, the overall goal of a PLN, however, is to help people learn about particular topics/subject areas. I’ll answer your burning question right now, I know you’re wondering “But does my PLN have to be professional?”. ABSOLUTELY NOT, you can construct it with your own interests to teach others about your hobbies and such. Incredible… just incredible. The overall goal of PLNs is to promote growth, development, and understanding in an area that is meaningful to you. The overarching theme of PLNs is that of Connectivism which is the theory that your network provides the context for your learning, not necessarily the content. Keepin’ up alright? Good, movin’ on.

Zoomed in and scrolled down on this infographic to reveal the final step: EMPOWER!

My God, we’ve reached it, the final step. Are you excited? You should be because I am. I can’t believe we made it this far together. Anyways the fourth thing to keep in mind is to Empower your PLN, you want to map it out strategically to the public. I will mention that your PLN can be in the form of various online platforms that are quite fun to use, some of which include: Twitter, YouTube, Google Drawing, Coggle, and The Educator’s PLN. Creating a visual diagram of the people, organizations, collectives, and others who are in your network makes for a strong looking PLN as well as an effective one. Again as a teacher candidate, I find that having these online platforms as an outlet to express my passion in a specific subject area of interest gets me excited to teach others, and hopefully, I can learn a thing or two from their PLN. It is also important to make note that a clean looking, well-organized PLN that highlights your specific nodes, targeted demographics, technologies you have used/don’t use, partners, etc.., will ensure for connection between various individuals and organizations you are trying to reach.

Gif to help bring this greasy post to a conclusion.

Well, that brings us to the end of the discussion on PLNs and how you can use them in your pedagogical practice. The possibilities for connection and collaboration with the use of PLNs are endless, and it is an excellent way to improve your learning. If I have taught you NOTHING from this entire post, then I will leave you with this… always let your steak rest at least 10 minutes after cooking and cut it against the grain. I’m glad we went on this journey together, I feel like we’ve grown.

Take an escalator down to the ole comment section, go down to the basement, leave your grievances, let me know what you’ve learned. Have an amazing day, don’t let your dreams be dreams, make a PLN, and most importantly, have a good one. Cheers!

Trendy or Evidence-Based Teaching Practice? How to Determine if Your Selection of Digital Technology Effectively Meets the Needs of Learners

While many trendy technology-based educational resources appear to be “groundbreaking” and “revolutionary” in meeting the needs of students, they do not always follow the appropriate steps to effectively “support, facilitate, and enrich” learning experiences. When you are seeking technological resources to meet the needs of students, you must be grounded in the appropriate information and tools to evaluate the strengths and weaknesses of these resources. Do not fall victim to the persuasive businessperson, who has not stepped inside of a classroom in years, claiming that their technological resource will transform the learning experiences in your classroom.

Making money is sometimes more of a priority for educational technology designers and marketers instead of meeting the needs of learners.

Thankfully there is a module, hosted by Ontario Extend, that can assist you in evaluating the effectiveness of these technological resources.

The module details a Design Think Process that can assist educators in evaluating the digital technology they introduce to their classroom

Extend’s technologist module is designed to assist educators in incorporating technological tools into their classrooms effectively to address specific challenges in learning. The module discusses four learning objectives for educators that apply to their selection, use, and integration of technological tools in the classroom in promotion of evidence-based practice. These steps must be considered before introducing technology into the classroom to address a specific need. Educators should  reflect on the digital literacies they have used for teaching, explore ways integrating technology in classrooms can address learner-centered challenges, use the SECTIONS framework to determine if a technological tool is effective for teaching and learning, and use a design-thinking approach to create a learning activity involving technology.

I have created an infographic that elaborates on the objectives of this module:

Infographic created on Canva

This infographic could be useful as a reference in many educational settings. Educators who plan to introduce new technological resources to their classrooms could review this infographic and verify that their process and product is aligned with the steps of effectively supporting the needs in classes through the use of their digital technology.

Consider the SECTIONS framework when selecting technology and media for your classroom

As a high school music teacher candidate, I have already applied these steps to evaluating the technological resources I have encountered in my own lesson planning. I have already collected some new technological tools for potential future lessons because they aligned with the learner-centered steps outlined by the module. For example, recording softwares and applications Audacity, GarageBand, and Voice Memo have the potential of enhancing learning experiences, as they include all elements of the SECTIONS framework. They provide multiple methods of differentiation and do not require personal data to be used at no cost. Specific collaborative assignments can encourage face-to-face networking in classrooms for students using these programs. The learning experiences involving these programs can be tailored to the needs of most students.

There are numerous considerations to be made when introducing technology to your classroom. Follow the appropriate steps and you will likely avoid excluding learners from enriching experiences in your classroom.

Tagged ,