
Technologist Module: Design Thinking
By: Allison White
For this artifact, I decided to try using Canva. I had never used it before and was really impressed with its affordances. It was really user friendly so navigating through the tool wasn’t too difficult.
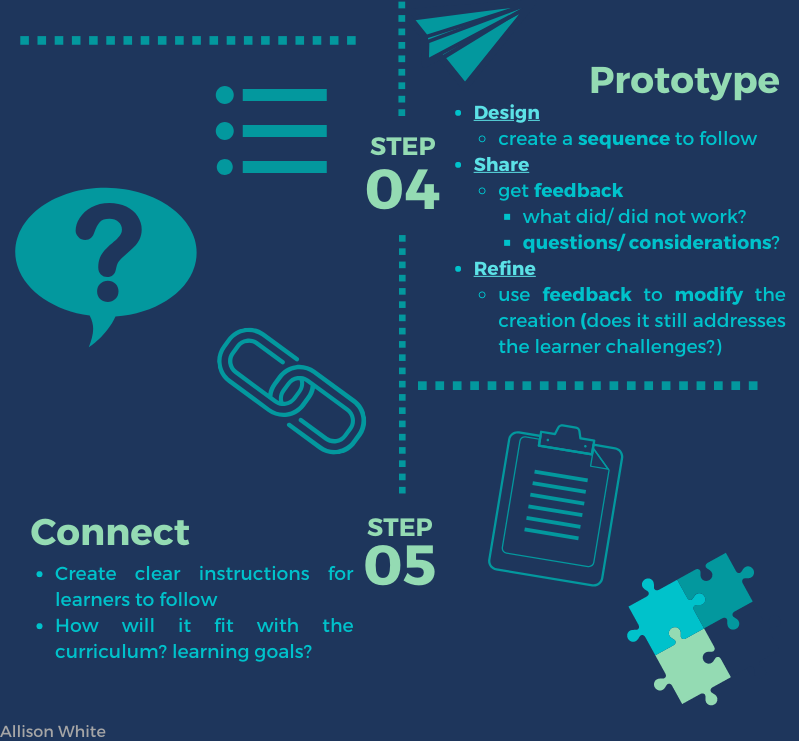
Being able to use Canva to represent the module was really useful. On Canva, I was able to explore templates that I could modify to fit what I needed. The template I chose represented a five-step model, exactly what I was looking for. My end result turned out to look like this:
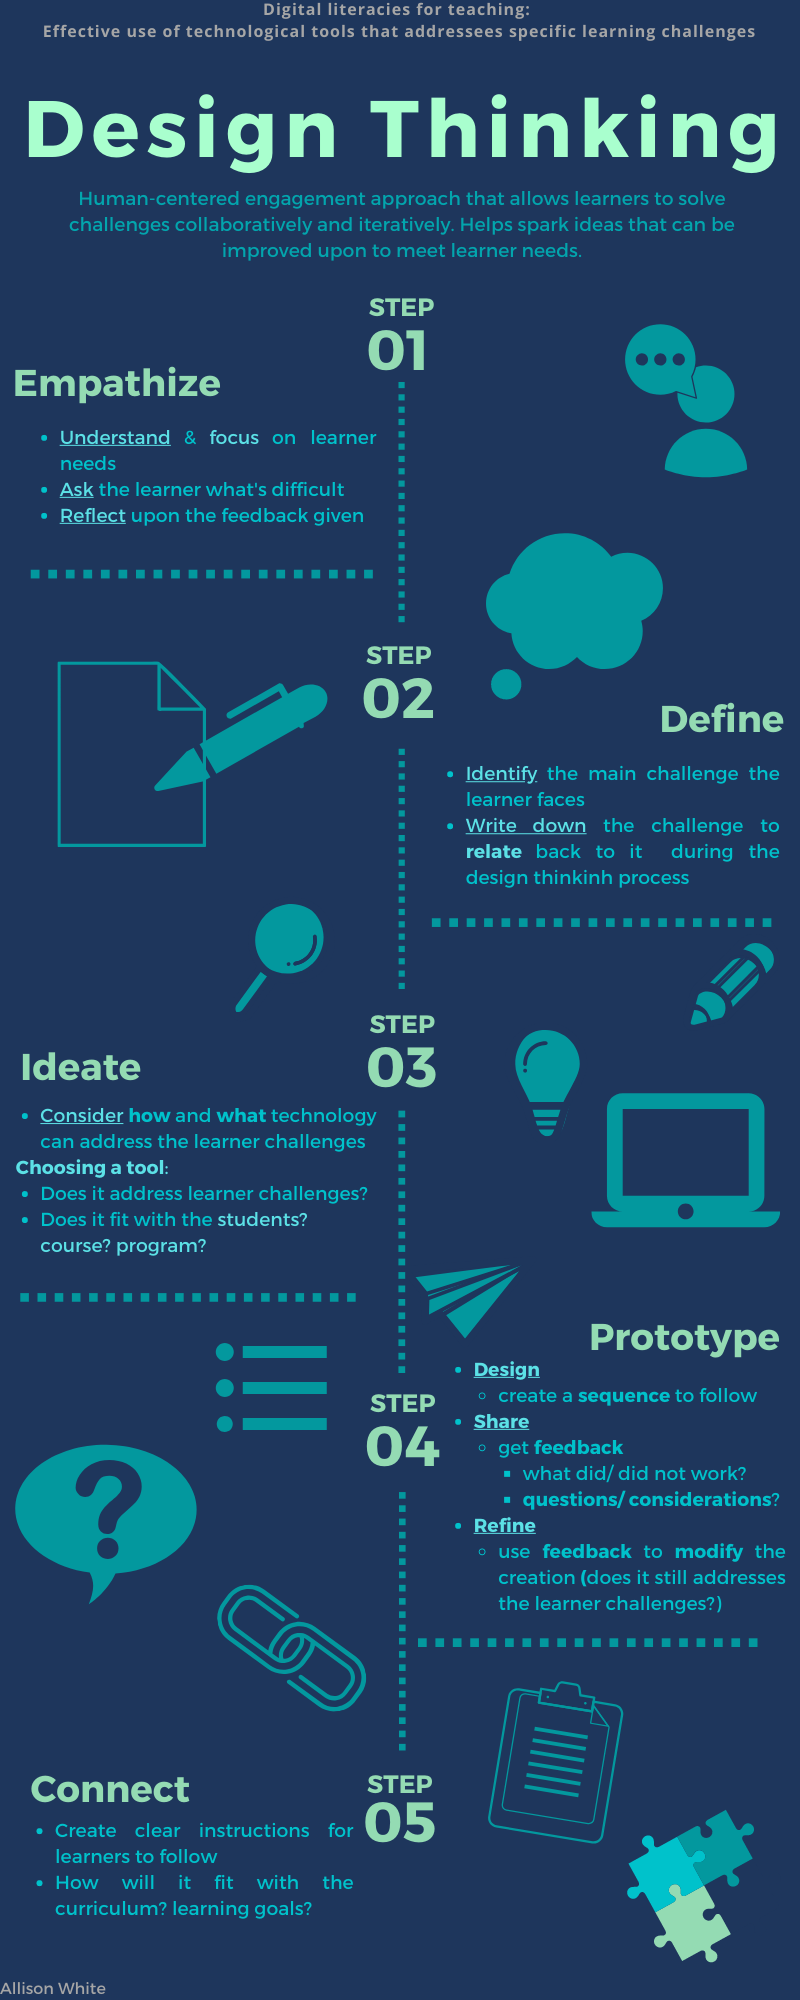
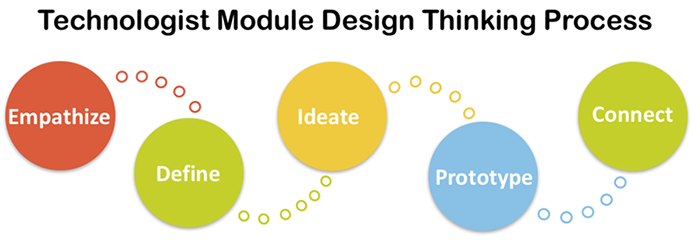
The reason I picked this ‘five-step model’ is because as I was exploring the Technologist Module, I noticed that it was dividing into many different sections. After looking at the sections and doing some of my own exploration, I realized that the first few sections were an introduction that included definitions and overviews to the first few sections; Digital Literacies and Design Thinking.
Here is where I began to understand the main idea of this module: using technology as a way to address learning challenges to support and facilitate student learning. This process seemed very complicated. How does one do that when they don’t have any idea where to start? This is where my step-by-step model reflects the module. The last few sections of the module is the broken down process of implementing this main idea. It’s in the order that one must follow to effectively address learning challenges with the use of technology.
Although the main focus of my Canva was the process required to address learning challenges, I still wanted to incorporate the other ideas of the module as well.
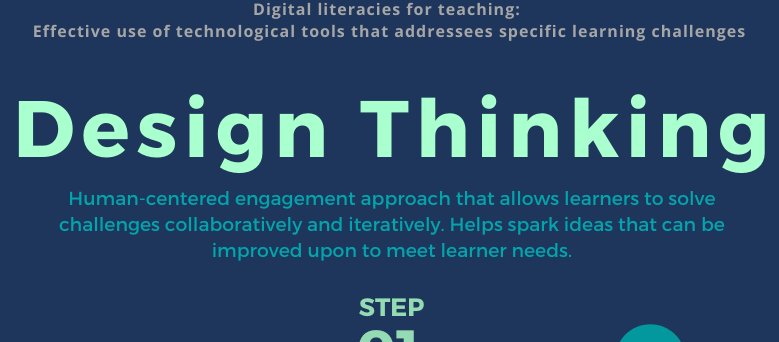
At the very top, almost hidden, I included what digital literacies for teaching are. This is a reflection on the main idea. The section in which this part is found is under the Digital Literacies section, but since this is an educational approach, the teaching definition is the most pertinent. This is purposely placed here because after looking at the infographic as a whole, one shoul notice the title as well as the subtitles first, and be able to figure out what exactly is going on. By looking at the smaller details if whoever is reading is still interested, they will find more information as to what this is about. I also find it important to have the main idea stated somewhere on the module without taking the attention away from the modules explanation of the process.
Underneath the “Design-Thinking” I included its definition. This ensures that the one reading the infographic knows what I’m talking about and what the steps I have included describe. This definition also describes what exactly the user of the infographic is looking to do when creating their project. (It’s almost like a makeshift learning goal that someone can relate back to to make sure that what they are doing is still connected to the main idea).
I found this step-by-step process to be very interesting during my exploration of the module. Throughout it, there are plenty of opportunities to be creative, but in the “Ideate” section, there is ample resources that can be used to create. This is the main section where technology coincides idea creations. Some of these tools include: mind mapping, Prezi, Padlet, or even a Canva. Tools that are able to be used for multiple disciplines. The possibilites are multitudinous as long as the creator knows what to do. A great example is this Canva that I made. This infographic is an easy to process for teachers to follow a to integrate digital literacies in teaching.
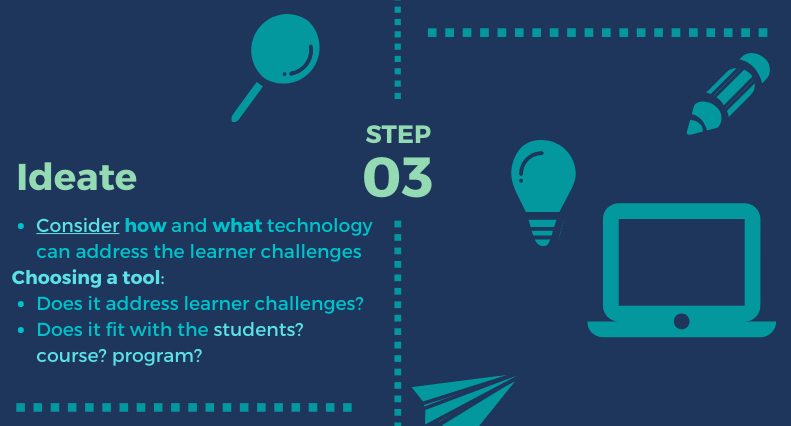
Before choosing the tool, its important to look at different tools and explore them all to see if one fits best to address the learner challenges. For example, when I was deciding on what type of mulitmedia I wanted to use for this assignment, I had to think of what key ideas I wanted to represent; so, I made a mind map. Then I was able to look though the different tools available to best represent the main points of the module.
For teachers looking to integrate technology to reach learner needs, this SECTIONS chart is very useful. It looks at all the aspects that could be deciding factors when choosing and designing for the creation. All of the connect to the big idea by giving one a guide to selecting the most appropriate tool.
Some of theses chart ideas are are self-explanatory or can be inferred upon to reach an understanding of the idea such as: cost/time, ease of use, networking, organizational issues, and security and privacy. A lot of these ideas are broad and need to be narrow down to figure out exactly what each section means. This is a model of the design step, taking a big idea and looking at it from a narrowed down perspective.
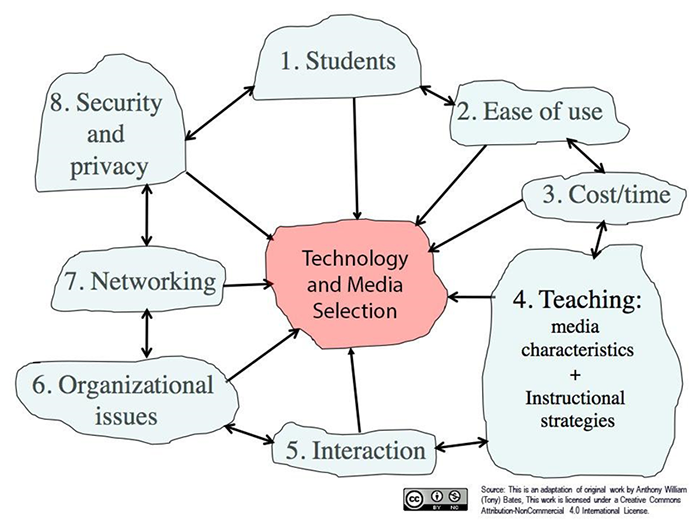
Others may be more difficult to understand like the teaching section. Here we look at the elements of the module that the teacher needs to decide upon and how the elements will be implicated to best facilitate teacher learning. Even looking at the interaction section, educators need to consider how the students will interact with the creation, how the students’ interaction with the teacher will be affected, and how the students’ interactions with each other will be influenced. This relates to the students section which focuses on prior knowledge and student demographics as well as what the needs of the students are. Is this tool going to meet those needs?
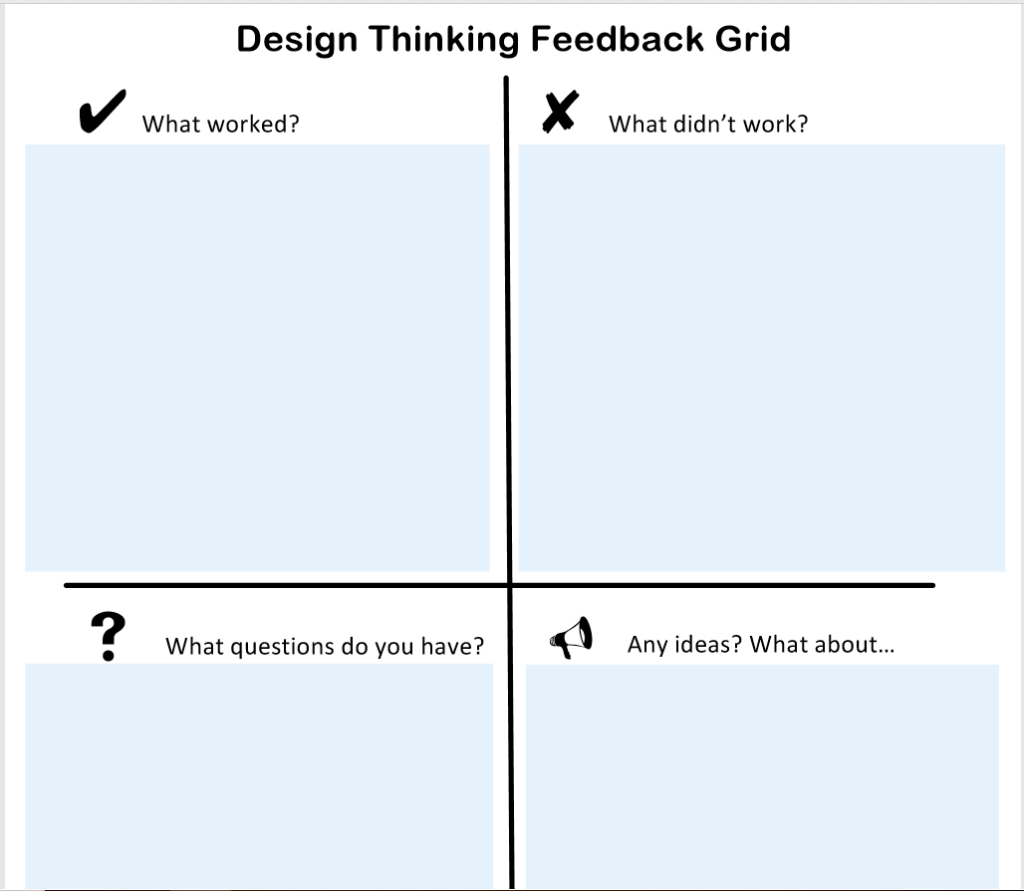
One of the things that I found to be very useful while exploring the module is that it is very educational and tests our abilities to understand what is being explained. At the end of each section, there is a task (Extend Activity) that we are supposed to do to give us an interactive way to apply our knowledge. Following the sequence that is designed for us is essential to complete the module as one Extend Activity branches from the previous one. This sequence following idea supports what the model is telling us. Under “Design” in the “Prototype” section, it states that to make and create an effective tool, a sequence is needed for the users to follow and understand what is required of them. Then, after sharing the creation with others such as the students, obtaining feedback is essential to refine the creation to make it as effective as possible
I applied this attained knowledge when creating my Canva. Although it is not necessarily what the module described the final outcome to be, I considered its suggestions and ideas to implement something that I could create. I applied the sections model in my design (specifically the media characteristics) and I continuously refined it until I got a final product that I was proud of.
Making this was a fun new way to express the main idea of something. I added little things in my Canva that may not be noticeable at first, but do help people subconsciously know what I am emphasizing. I bolded and underlined certain elements that I found to be most important and I even slightly changed the colour of some words to make them look slightly brighter. I didn’t want to take about from the flow of my creation, but these little tweaks will stand out more to the reader, even if they do not realize it. I created mini focal points throughout the Canva to reflect on my main focal point: Design Thinking.

I did a lot of thinking about my design. What colour choices should I use? How do they connect together? I always picture technology with neon greens, blues, pinks, and yellows. The colours that coding used to consist of with the dark screen in the back. That was my inspiration in the colour choices, using something that feels familiar to me and will feel familiar to others. A lot of what we create is a reflection of what we know and others appreciate it because of how inviting it is. I used these colours to try and connect with others who are looking to explore and create their own technologies.
I also thought of technology and what makes technology interesting… How else could I reach a bigger audience with this? As time consuming as it was, presentation and representation are really important when trying to connect with a bigger audience.
Being able to connect with others is essential to creating a good technological tool, they need to be able to understand what they are learning and why they are learning it. What it has to do with the curriculum and why it is effective.
Overall, technology is always evolving and as educators, we need to evolve with it. Technology use should not be a seen as a replacement for traditional teaching, but as an innovative expansion on teaching that allows educators to address learning challenges in new ways so that the learners are able to benefit to the best of their abilities.