Having never worked with metal before, this project seemed very intimidating to me.
How was I supposed to weld, grind and cut sheets of metal?
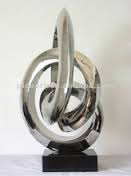
In the beginning I had ideas of very geometric sculptures.
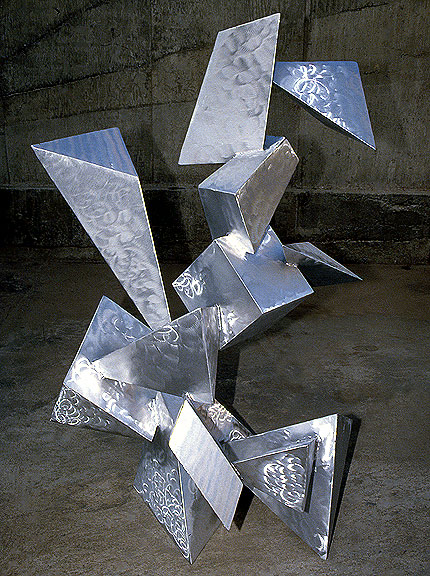
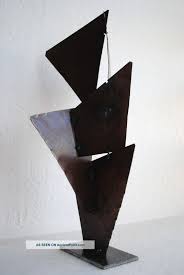
I loved the sharp, intimidating look that these two pieces had.
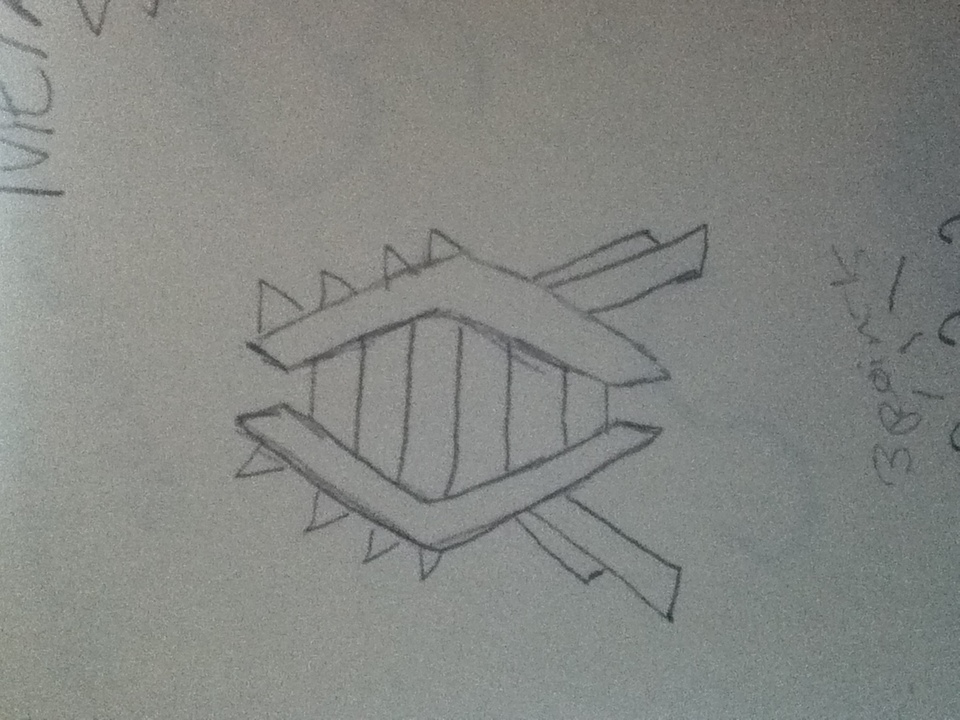
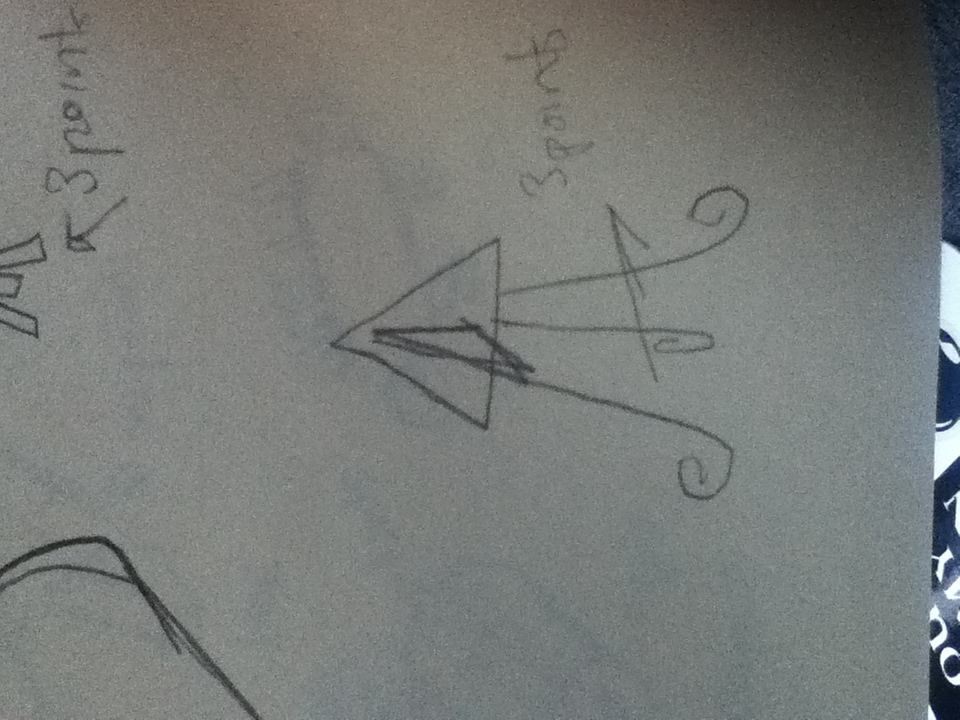
These were some of the sketches/ ideas I had come up with in my sketch book.
As you can see, my love for geometric sculptures wasn’t showing in my sketches. I couldn’t quite get what I was going for.
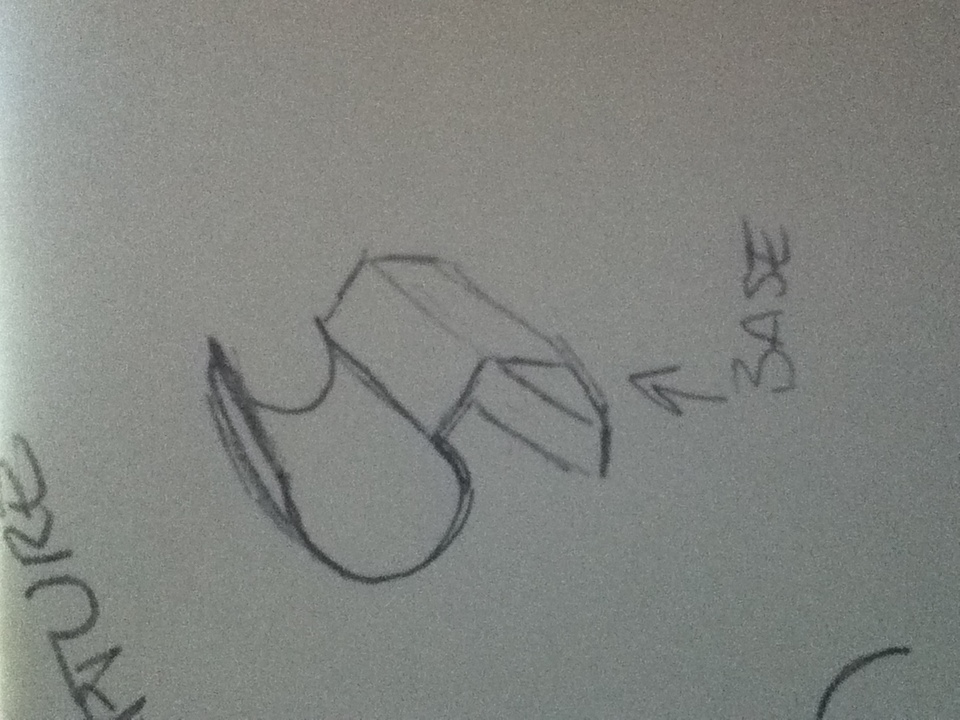
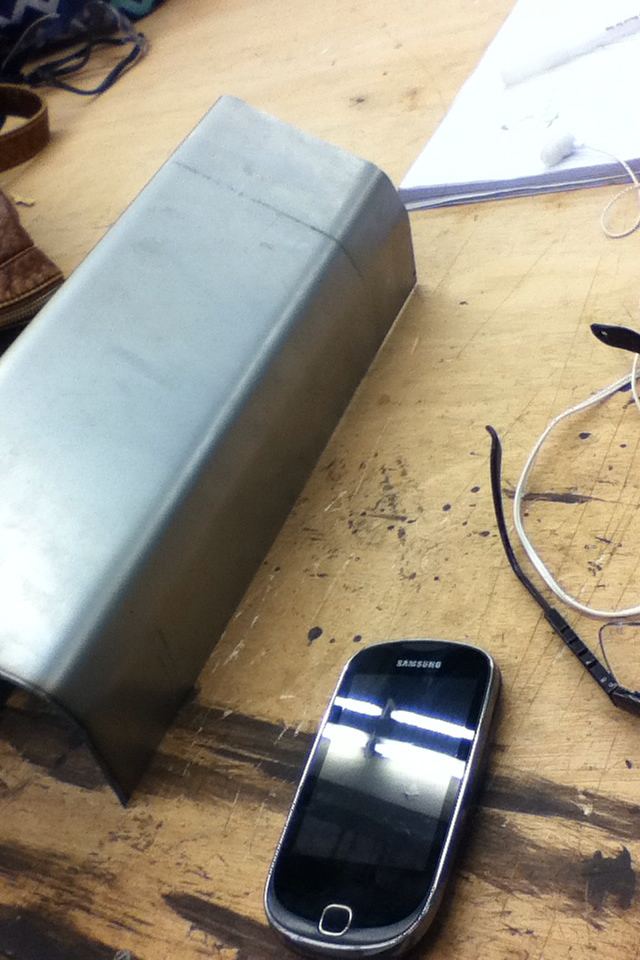
After countless hours of searching up metal sculptures in every way I could think of, I decided that I was being more drawn towards softer and less intimidating looking sculptures. More rounded and whimsical if you will.
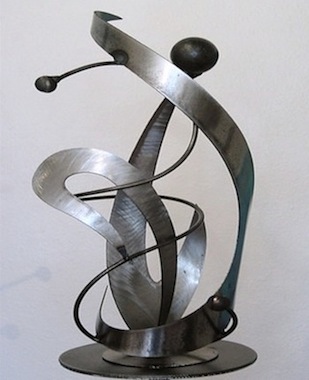

I loved the look of the curved metal, and how these pieces allowed your eye to flow all through the sculpture with ease.
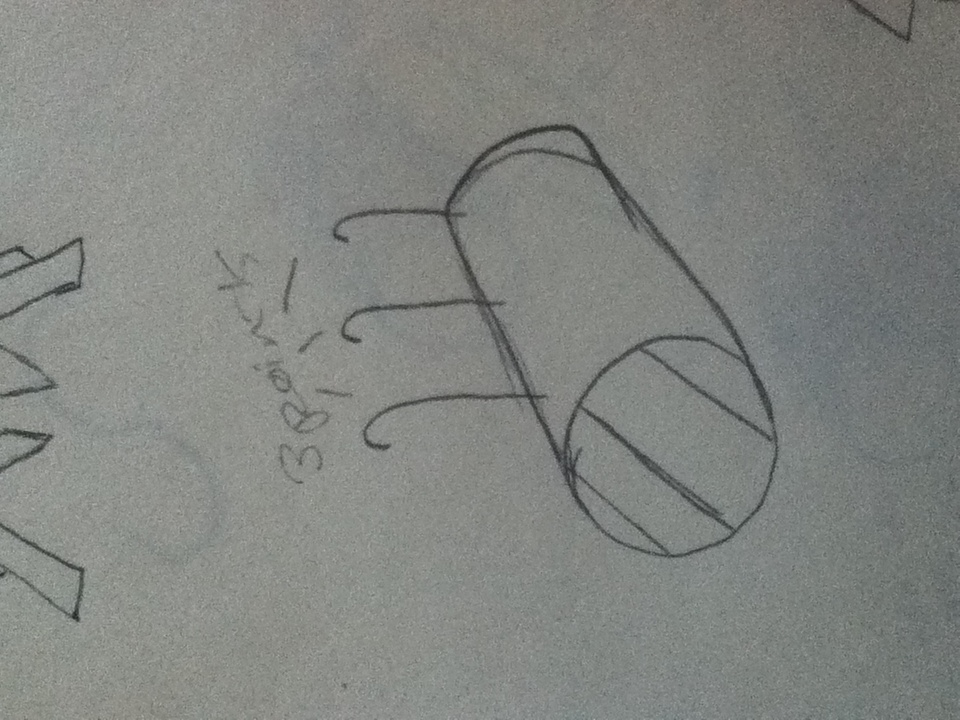

I found it much easier coming up with more flowing, rounded pieces in my sketches.
Finally coming up with an idea, it was time to get started.
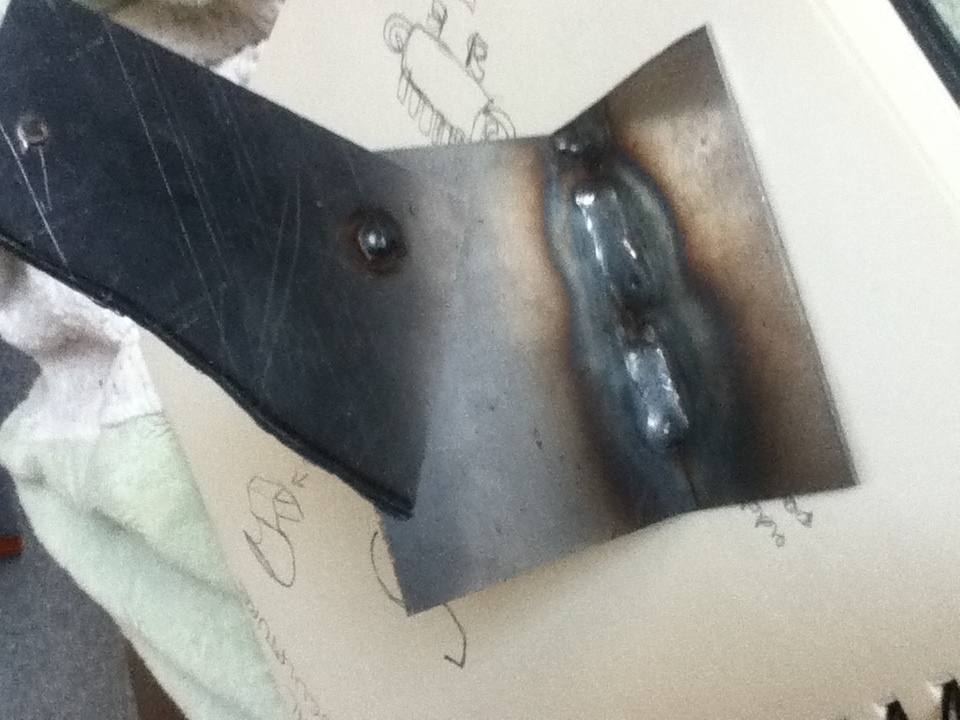
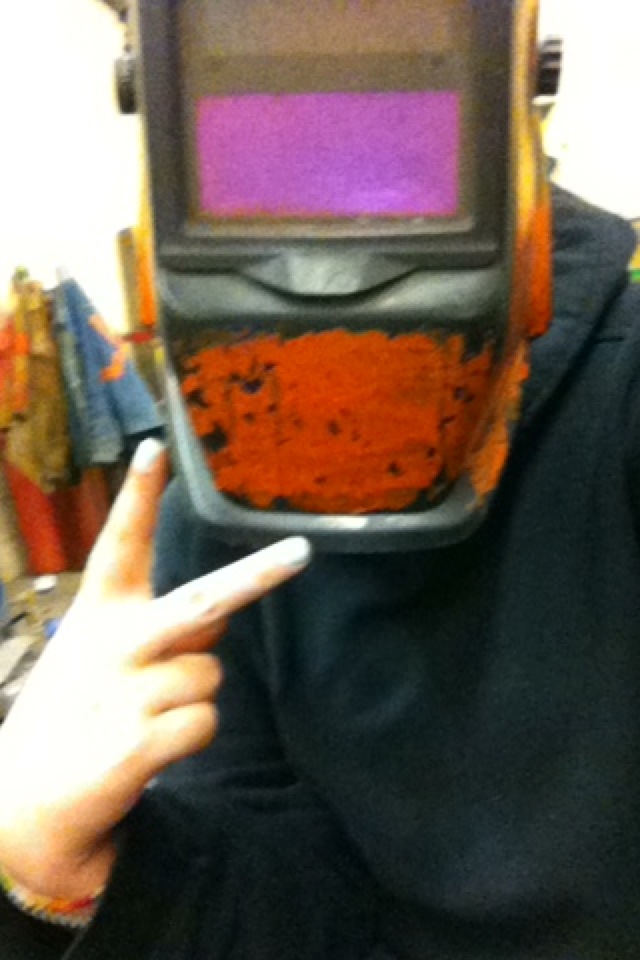
Before beginning, we all had to complete a welding test with Dan.
We were told to demonstrate a spot weld, a bead weld and a tack weld.
My first time welding was probably one of the most nerve racking experiences of my life, but I managed to pass. And I was quite proud of my work.

Now that I had that out of the way, it was time to begin constructing the real thing.
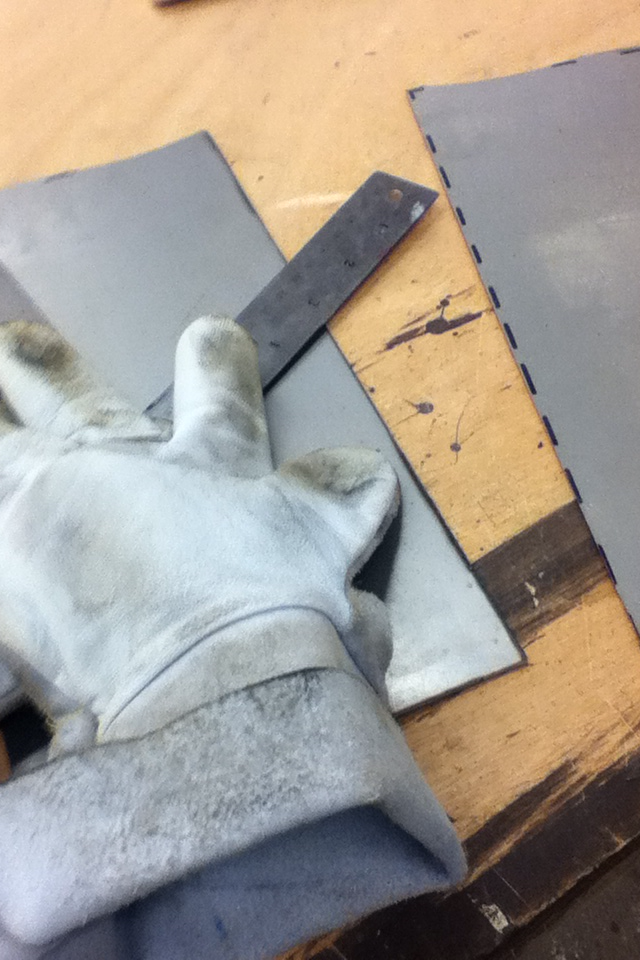
I had no real problems with any of the machines or the tools we had to use. The one thing that I had the biggest problem with was figuring out how I was going to use up all 2 feet by 2 feet of that sheet of metal.
During the time trying to perfect my idea of what I wanted, there was lots of procrastination that went on. It took me forever to decide what I wanted to do, and how I was going to come across it.
Finally having an idea in my head of what I what I wanted to construct was the thing that really got the ball rolling for me.

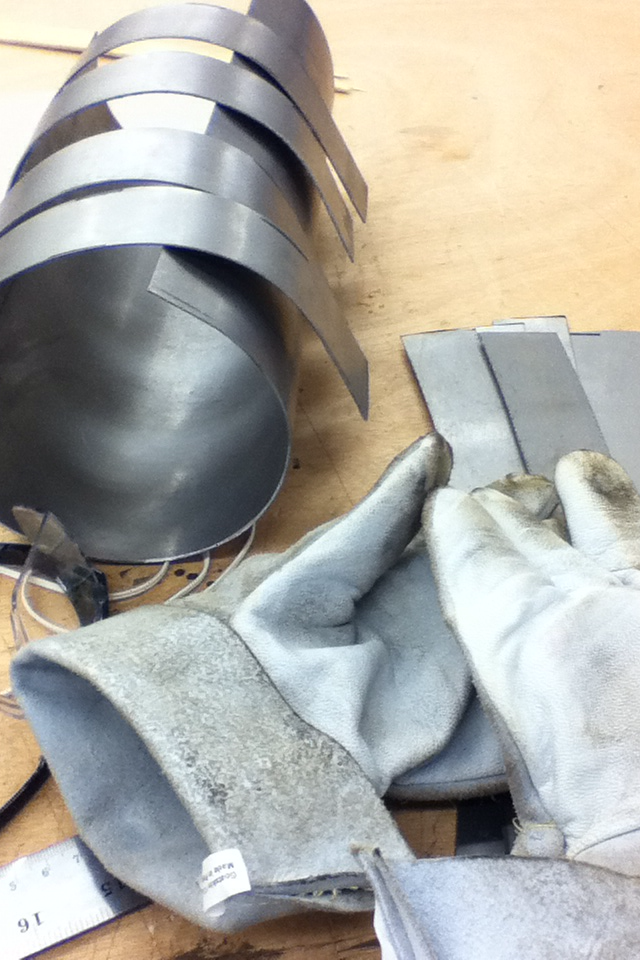
This project was moving along quite nicely for me. I cut all of my pieces of metal and had them all at the size I needed them to be. I curved and bent all the pieces I needed and before I knew it, it was time to weld.
Even though I had passed my welding test, welding was the thing I was most scared for because my project required lots of pieces to be welded. This was one of the last steps to completing my sculpture.
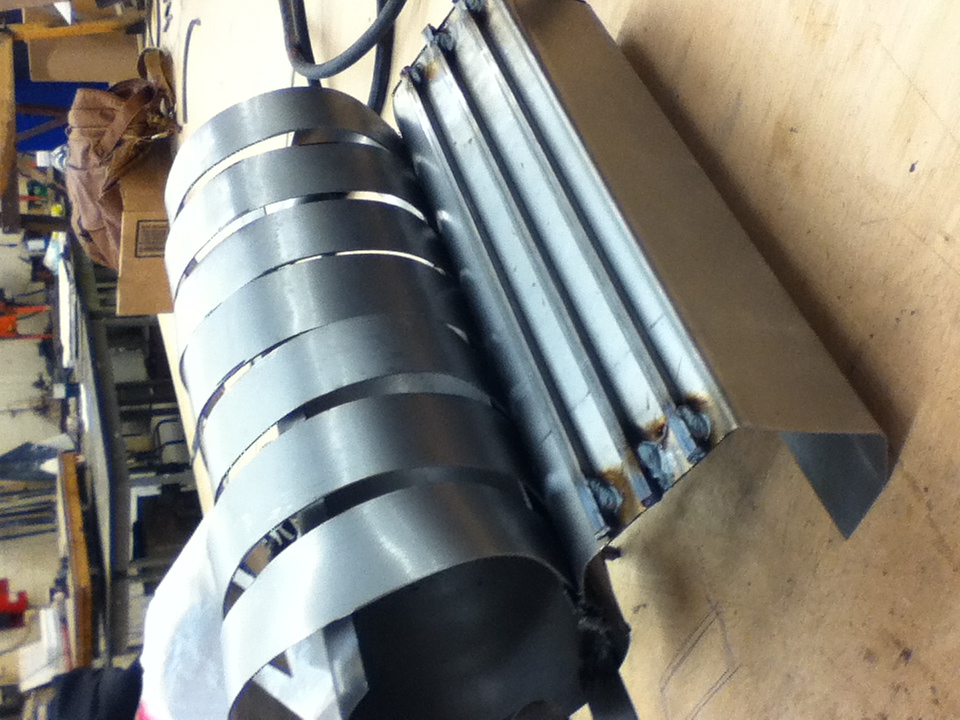
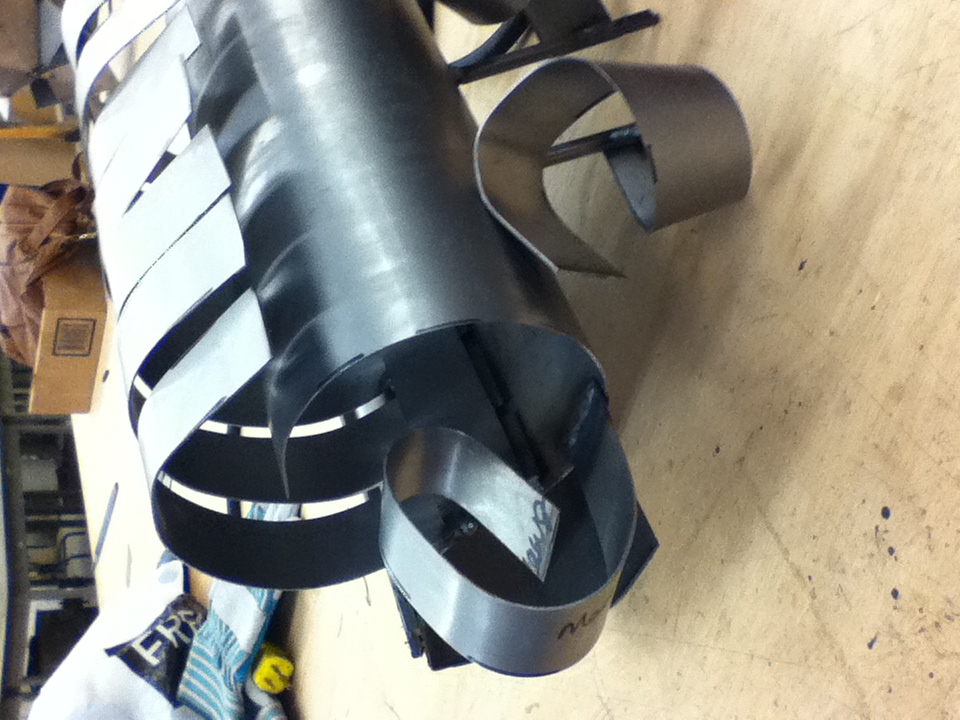

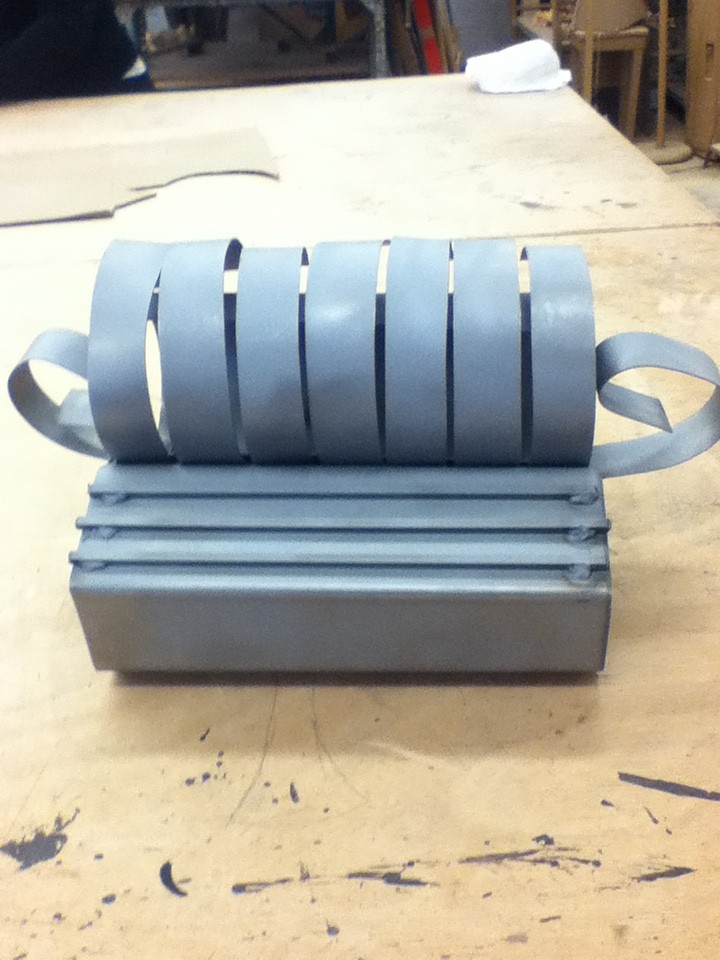
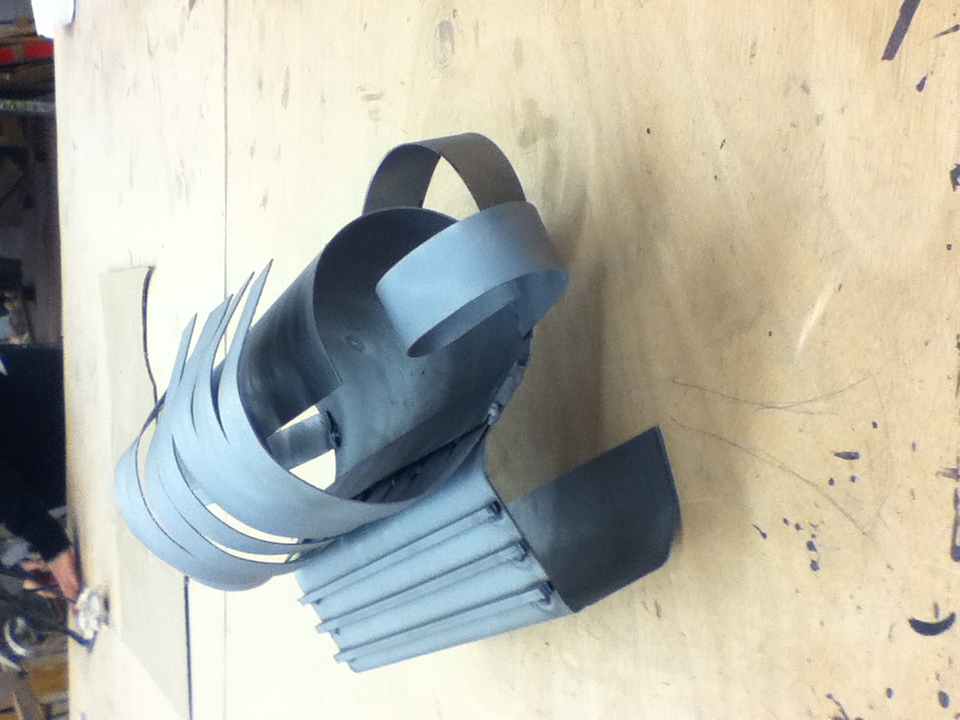
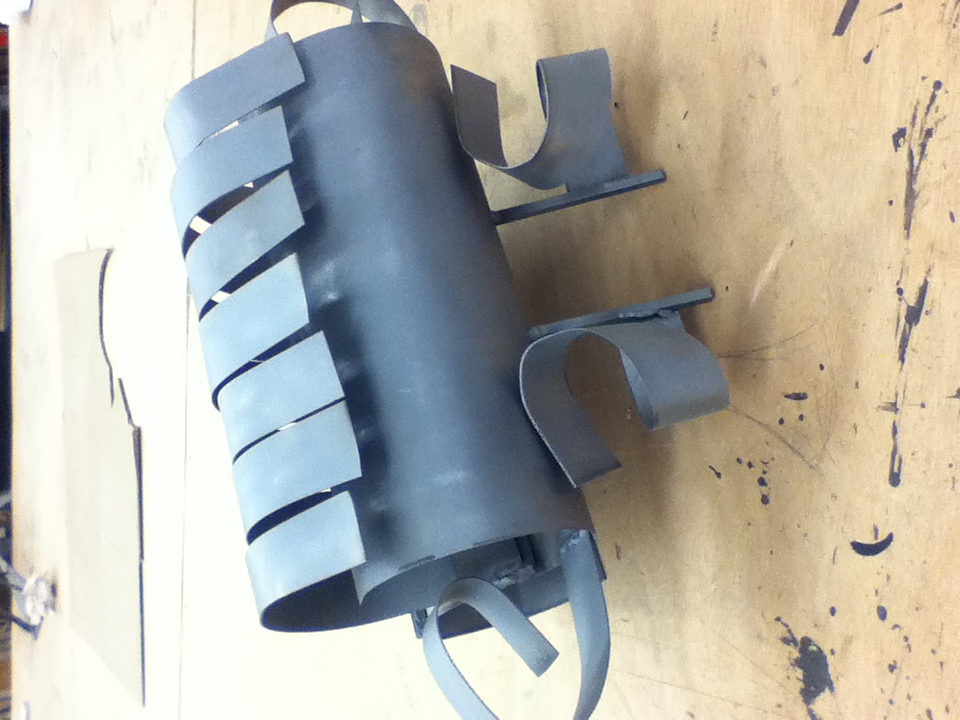
I welded each of the little strips that curved over the top. Then I welded three rods to the back side of the sculpture to fill in some blank space. I next welded two rods as little legs to create two of my three points. Lastly I welded some curved strips to the sides and the rods to use up the last bits of my metal and add give more to look at.
Now it was time for the last little bit of my project. The finishing touches if you will. Sandblasting and pop rivets. I chose to sandblast my sculpture because I loved the way it made the metal look smooth and soft, and that’s the look I was going for.
Overall I’d have to say I’m quite proud of my sculpture. There are definitely some things that I would change. But for my first time welding, and all doing all of the other things I did to create this project, I do like how it turned out. It’s never an easy task to create something from nothing with materials you’ve never worked with before, but I liked this project. I loved working with new things and being able to learn countless new ways of going about my task. It was my favourite of the three projects for sure.