Gum under the chair… or Chair on the gum?

For this assignment, I decided to make a piece in response to the “what pisses you off” theme.

So I wondered, what really pisses me off? What aggravates me?

And then I remember all those lovely elementary and high school memories of when I used to get comfortable leaning back on my chair or even rocking it… Only to find a lovely wet slimy surprise for me, underneath.

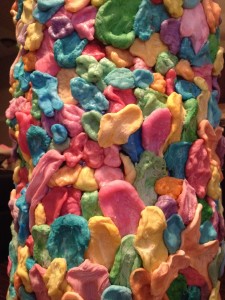
Chewed Gum


That was when I had an idea to recreate my nightmare into a completely ridiculously exaggerated, blown up version.

photo 5 (2) copy


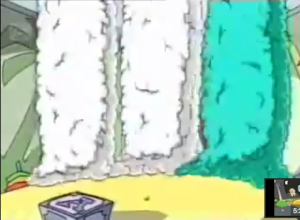
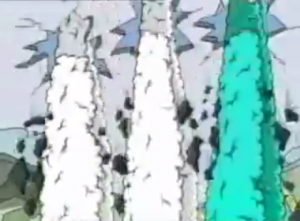
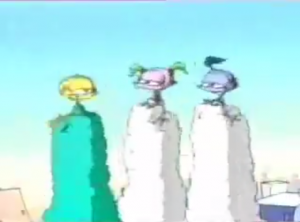
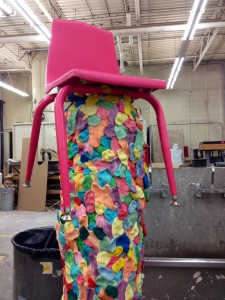
I was sure that I wanted to use a classic school classroom chair. I was lucky enough to find a used one on eBay that was the perfect colour I had in mind! I thought that the colour of the chair would complement the colourful gum pieces very well. The whole piece would look very unified, and it would give off a very strong childlike appearance. When thinking about how I wanted the massive gum piece to look like, I decided that I wanted it to go straight up. It was completely outrageous and silly, reminding me of a TV show I watched as a child. The show was called MegaBabies, and it was about three ‘mega’ babies with super human strength. Whenever their diapers were full, they would fly straight up. Ridiculous, and outrageous indeed.

Unlike the previous assignment, my initial idea wasn’t so far off from the final product. For the most part.

Screen Shot 2014-04-09 at 11.10.56 PM

Screen Shot 2014-04-09 at 11.11.10 PM

Screen Shot 2014-04-09 at 11.12.09 PM


The process pretty much went how I expected it. However, there were some miscalculations.

I never imagined my jaw to give out so quickly. In fact, during the process, a piece of my cavity filling that I had done during the beginning of the school year fell out. I was afraid that all my teeth would rot by the time I was finished.

I am absolutely in love with the texture of the compact pieces of gum!

I am absolutely in love with the texture of the compact pieces of gum!

It was also very difficult to fill up the space. It looked much nicer when the gum was compact and not spread out. Unfortunately I had to spread out some pieces because of time. And the fact that I felt as if my jaw was betraying me. After many long hard days of chewing gum, I was finally able to fill ‘most’ of the area.

photo 2 (5) copy


Since the sculpture was so high up, I couldn’t actually put the two pieces together until I was in class. I tried to mix in a few pieces of play-doh to help me fill the game. If I knew beforehand that the play-doh was so vibrant, I probably wouldn’t have decided to do that.

After I hearing some second opinions, I realized that there were many ways I could have approached the assignment without going through the obstacle of chewing the gum.

The sculpture leaves room for a lot of different paths. I could have made it into somewhat of a performance piece. Something that calls for viewer participation. I definitely would not use anything else but gum so that the concept of a huge dense mass of gum pieces really comes out to the viewer. I would also make the base of the gum wider, so that the negative space between the chair legs and the gum wasn’t so obvious.

Overall, I am quite happy with my product. There were obviously some things I would’ve done differently, but it wasn’t so far off from what I initially imagined. Given the opportunity, I would like to take this sculpture further by turning it into something that is more interactive. I really loved the idea of making a large gum sculpture, but the gum-chewing part wasn’t exactly my favourite thing to do.

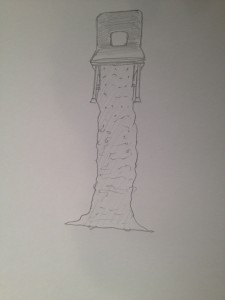
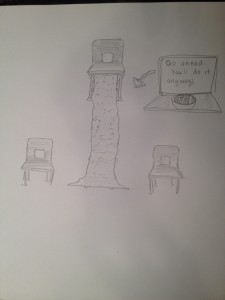
Here is a sketch of how I imagine my ‘improved’ version of my sculpture to look like.

photo (2) copy

I imagine the art piece to be in an empty classroom, with two ‘regular-looking’ chairs to the side of it. On the wall (or desk) there would be a sign encouraging the viewer to have a gum ball and stick it under the chair.

It could even be one of those stress relieving activities…

Or probably not. It’s really gross.

Coppristle

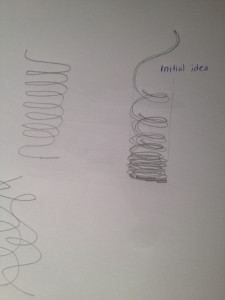
Initial Sketch

Initial Sketch

When I started the assignment, I wanted to make a sound sculpture that looked nothing like a familiar instrument, but still functioned like one. Eventually I decided to go for something that made sound using wind.

I already had an idea what I wanted it to look like, even before I researched how exactly it would make the sound. I knew that when using tubes to make sound, they had a different pitch depending on the length of the tubes. It did not occur to me that I wouldn’t be able to make a sound unless I had some sort of mouth piece.

At first I imagined the sculpture to have four thick spiral tubes, polished in chrome, condensed at the bottom and sparse at the top. I imagined the tubes to have 4 mouthpieces at the bottom, which meant the person playing the instrument would either lay down, or set the instrument on an elevated platform.

However, when I started to figure out what materials to used, I realized that it would be a shame to cover up the natural copper tone.

I wasn’t a fan of the copper colour when I first bought the material, but after polishing it it started to look more like a rose gold, which I found very interesting.

The most challenging part of the assignment was probably trying to make the mouthpieces.

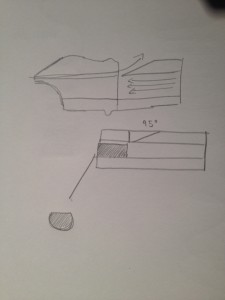
Mouthpiece Sketch

Mouthpiece Sketch


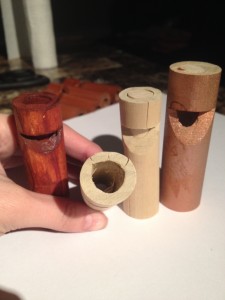
Making the mouthpiece was difficult because I had a lot of trouble finding the right sizes and cuts that made a good sound.

I made the mouthpiece using two different sized wooden dowels. I knew that the copper pipes were half an inch, so the inner dowel would have to be the same size to fit right into the pipe. At first I chose a slightly large diameter for the larger dowel, because I didn’t want the mouthpiece to look so chunky on the pipes.

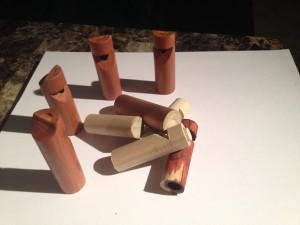
Unfortunately after multiple failed attempts, I realized that the outer dowel was too small to drill in without cracking. Even if the wood didn’t crack, it would eventually break open when I tried to fit the smaller 1/2 inch dowel inside.

I tried patching up the cracked with plastic-like wood glue, but since the whistle was so sensitive to any air leaks, it made a very poor sound.

Finally I went out to purchase a slightly larger dowel for the outer piece. I also bought a new 1/2″ drill bit to use (which worked beautifully because the drill bit I was given at the sculpture room was extremely worn out).

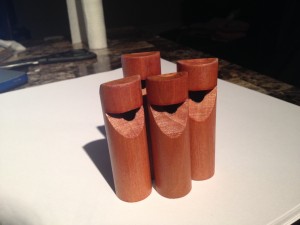
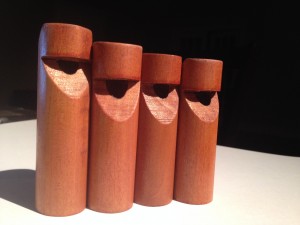
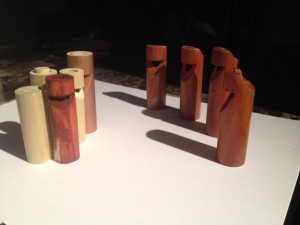
The larger sized dowel was perfect, but I had some trouble cutting out the 45 degrees hole. I never realized how every single component of the mouthpiece made such a difference to the sound of it. After trying out different cuts, stains, and coats, I was finally satisfied with four uniquely made mouthpieces.

photo 1 (7)

Mouth pieces in various lengths

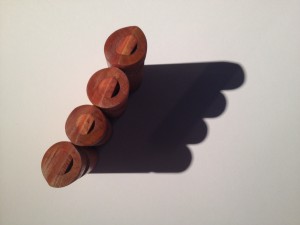
Top View of Mouthpieces


Here are some photographs of the failed mouthpieces.

The Outcasts

The Outcasts

Mouthpiece Bullying

It’s a man eat man world


(I ended up staining the mouthpieces to somewhat match the copper’s warm tone.)

When I finished my mouthpieces and tried to fit them on the copper pipes (with the end of the pipes blocked off), it didn’t make any sound at all.

I was horrified, and extremely frustrated. I wasn’t sure whether or not I should start a completely new idea. I researched a little more, and realized that the reason it didn’t make a sound was because the pipes were so long that the pressure of the air was lost.

I then had an idea and experimented, putting my mouthpiece over a water bottle and changing the volume of the water. And it worked!

Finally I filled the pipes up with water and was able to successfully make a good sound that I could even adjust using water.

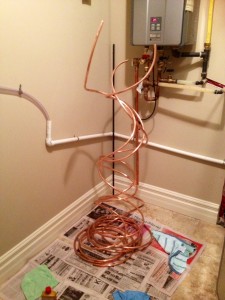
Process Pipe


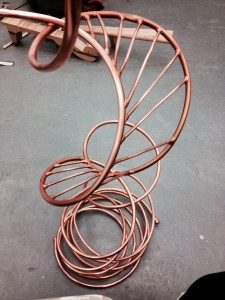
When working with the pipes, I had a lot of trouble figuring out whether or not I liked the form of the pipes. I narrowed it down to three pipes instead of four. After looking at my ‘at-then’ finished product, I wasn’t satisfied with the form. It looked very busy in a disoriented way, so I took out another pipe and made it into a two pipe water whistle. After adding some extra components to the pipe to give it a more structural look, I was complete!

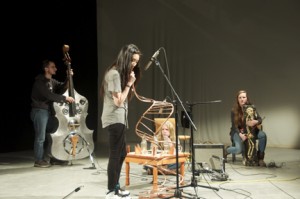
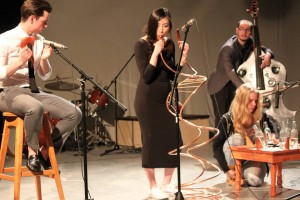
Finished Snapshots

Credits to Rod.. or whoever took this photograph and posted it on CLEW

Credits to Susan and her mother for taking the photo